5 posts tagged with "protocol"

View All Tags

· 5 min read
Brileigh
Matthew

Project creators can now use rich text formatting in their project descriptions. This means that you can add style and organize your description using basic formatting like bold and italics, headings, links, adding images, and more.
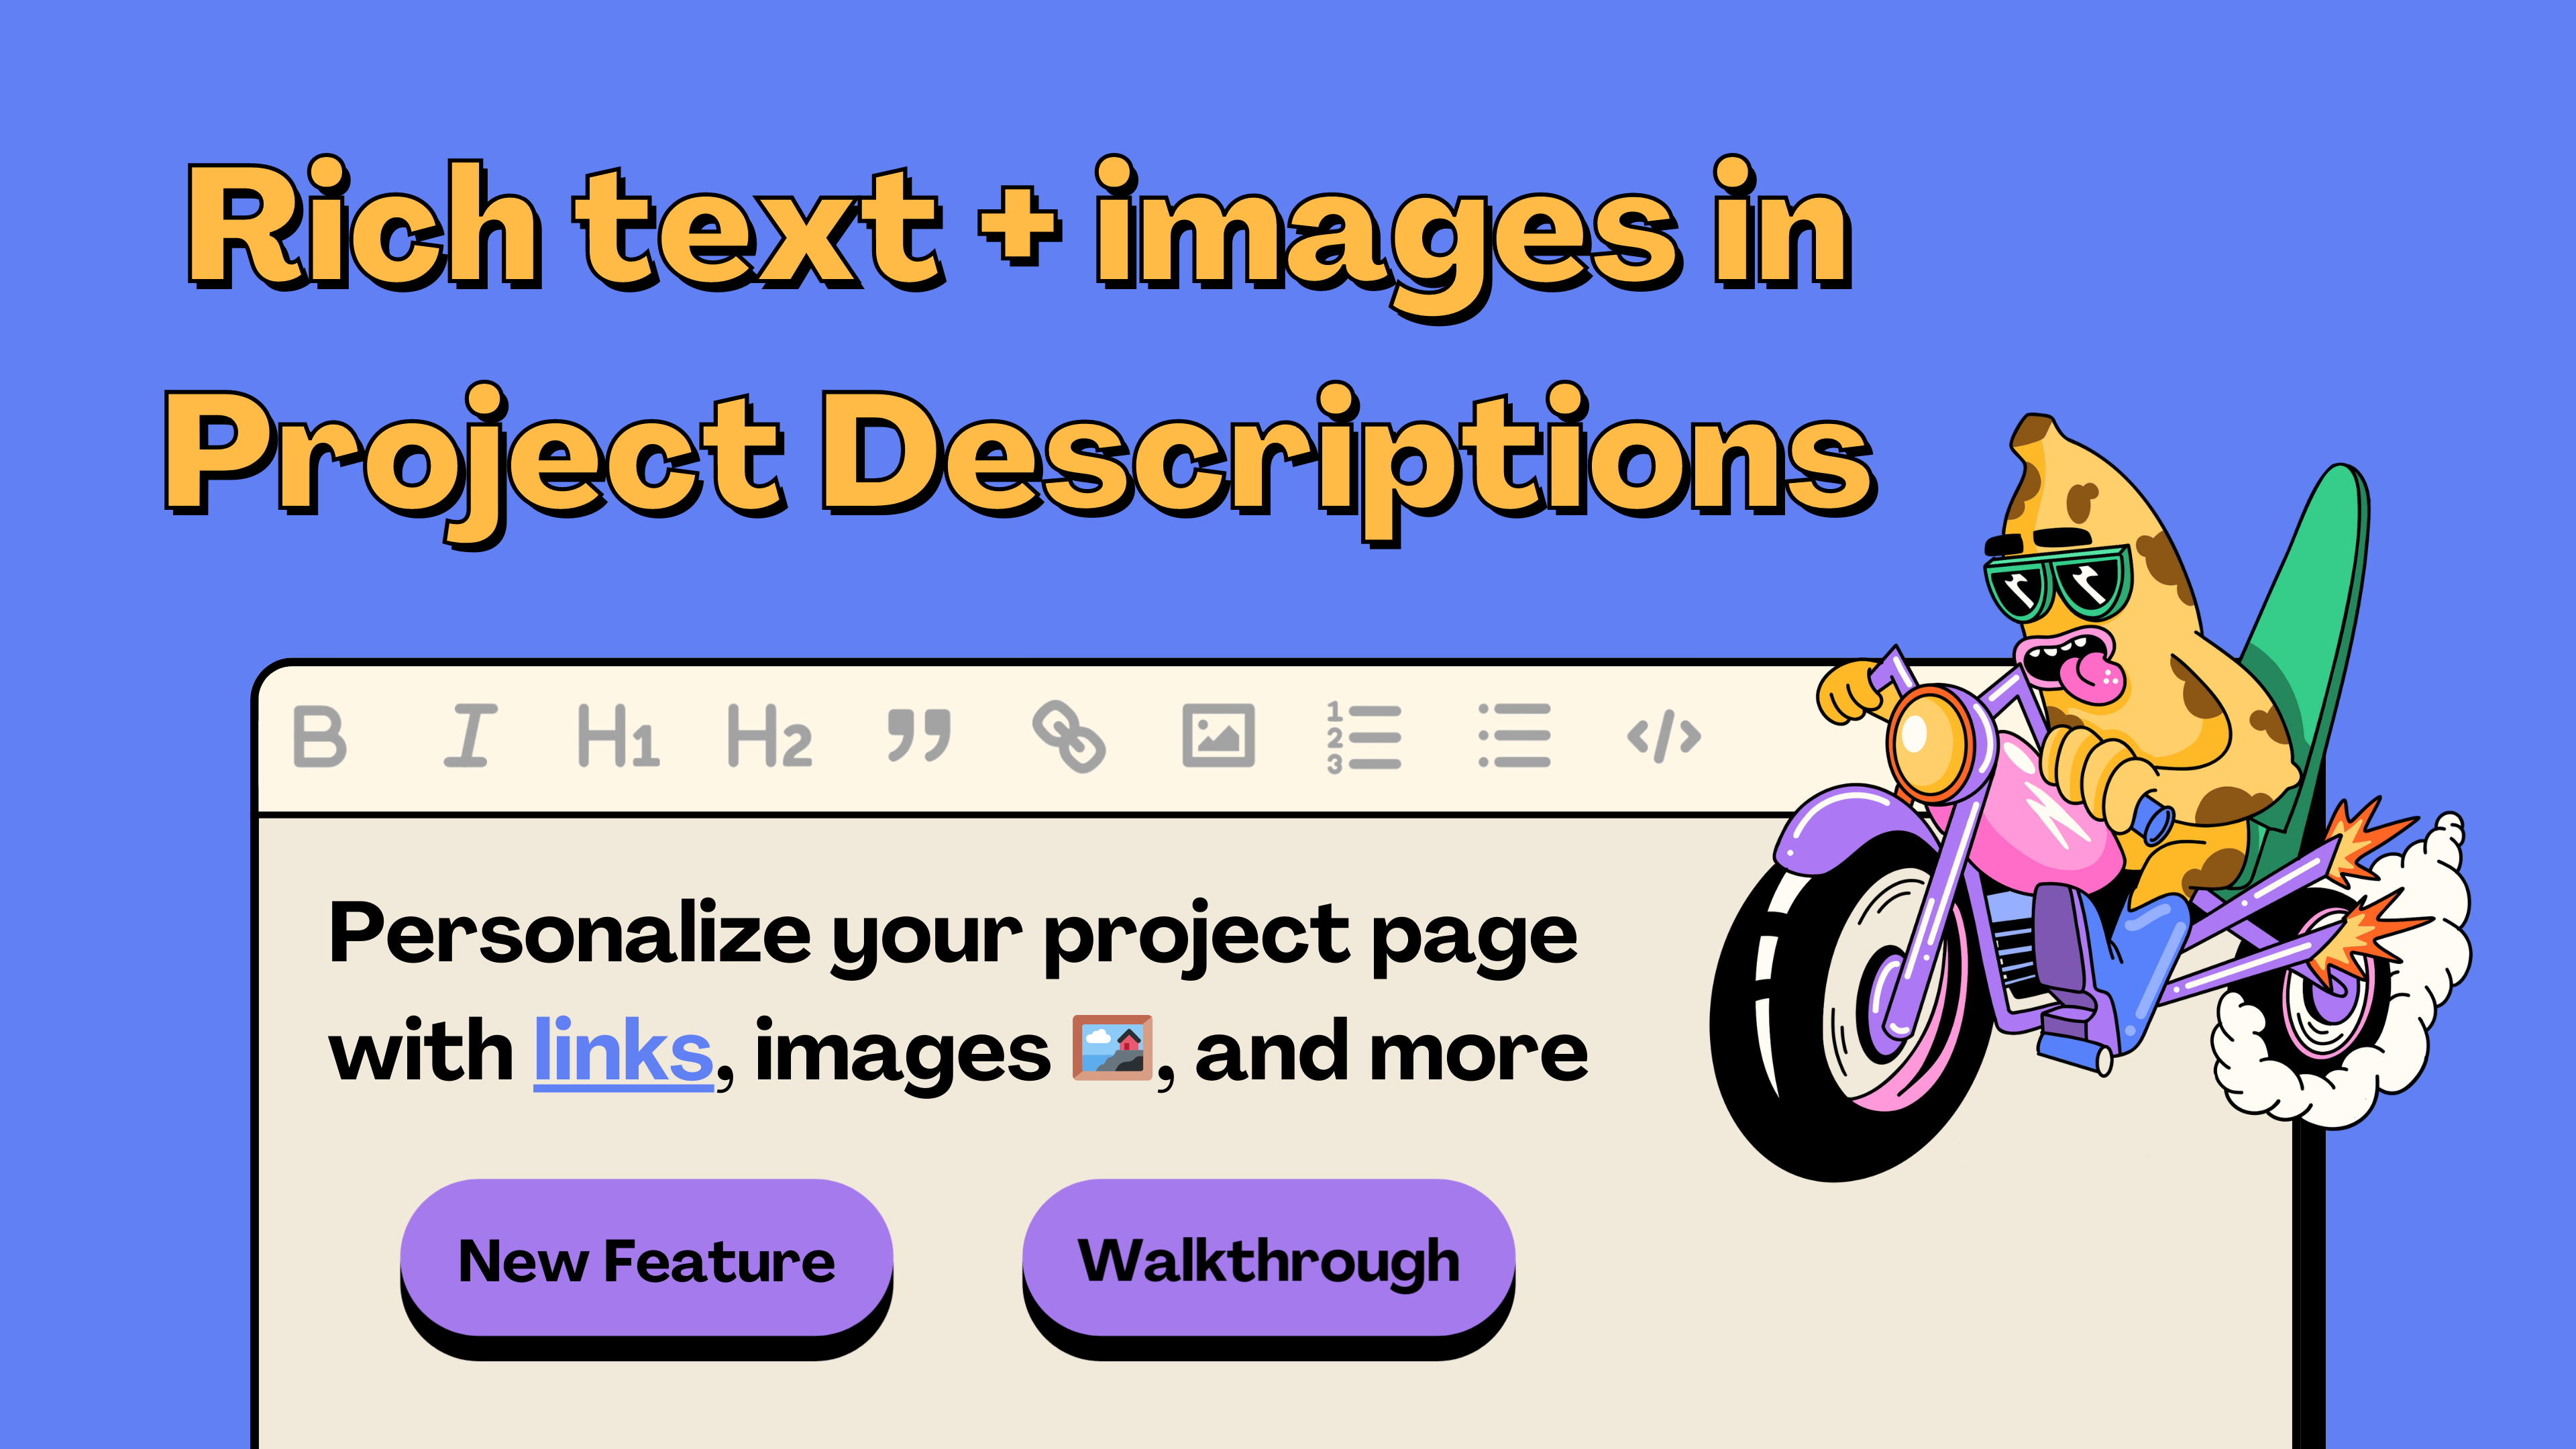
Banner image showing new rich text editor on Juicebox

You can learn more about these updates in this article, or this walkthrough by Brileigh on JBDAO YouTube:

Step One: Connect Wallet and Manage Project

So, first things first, make sure your wallet is connected and head over to the project that you control on juicebox.money. We’re gonna use The Juicecast on Goerli as an example. From here we’re gonna click on Manage project in the top right.
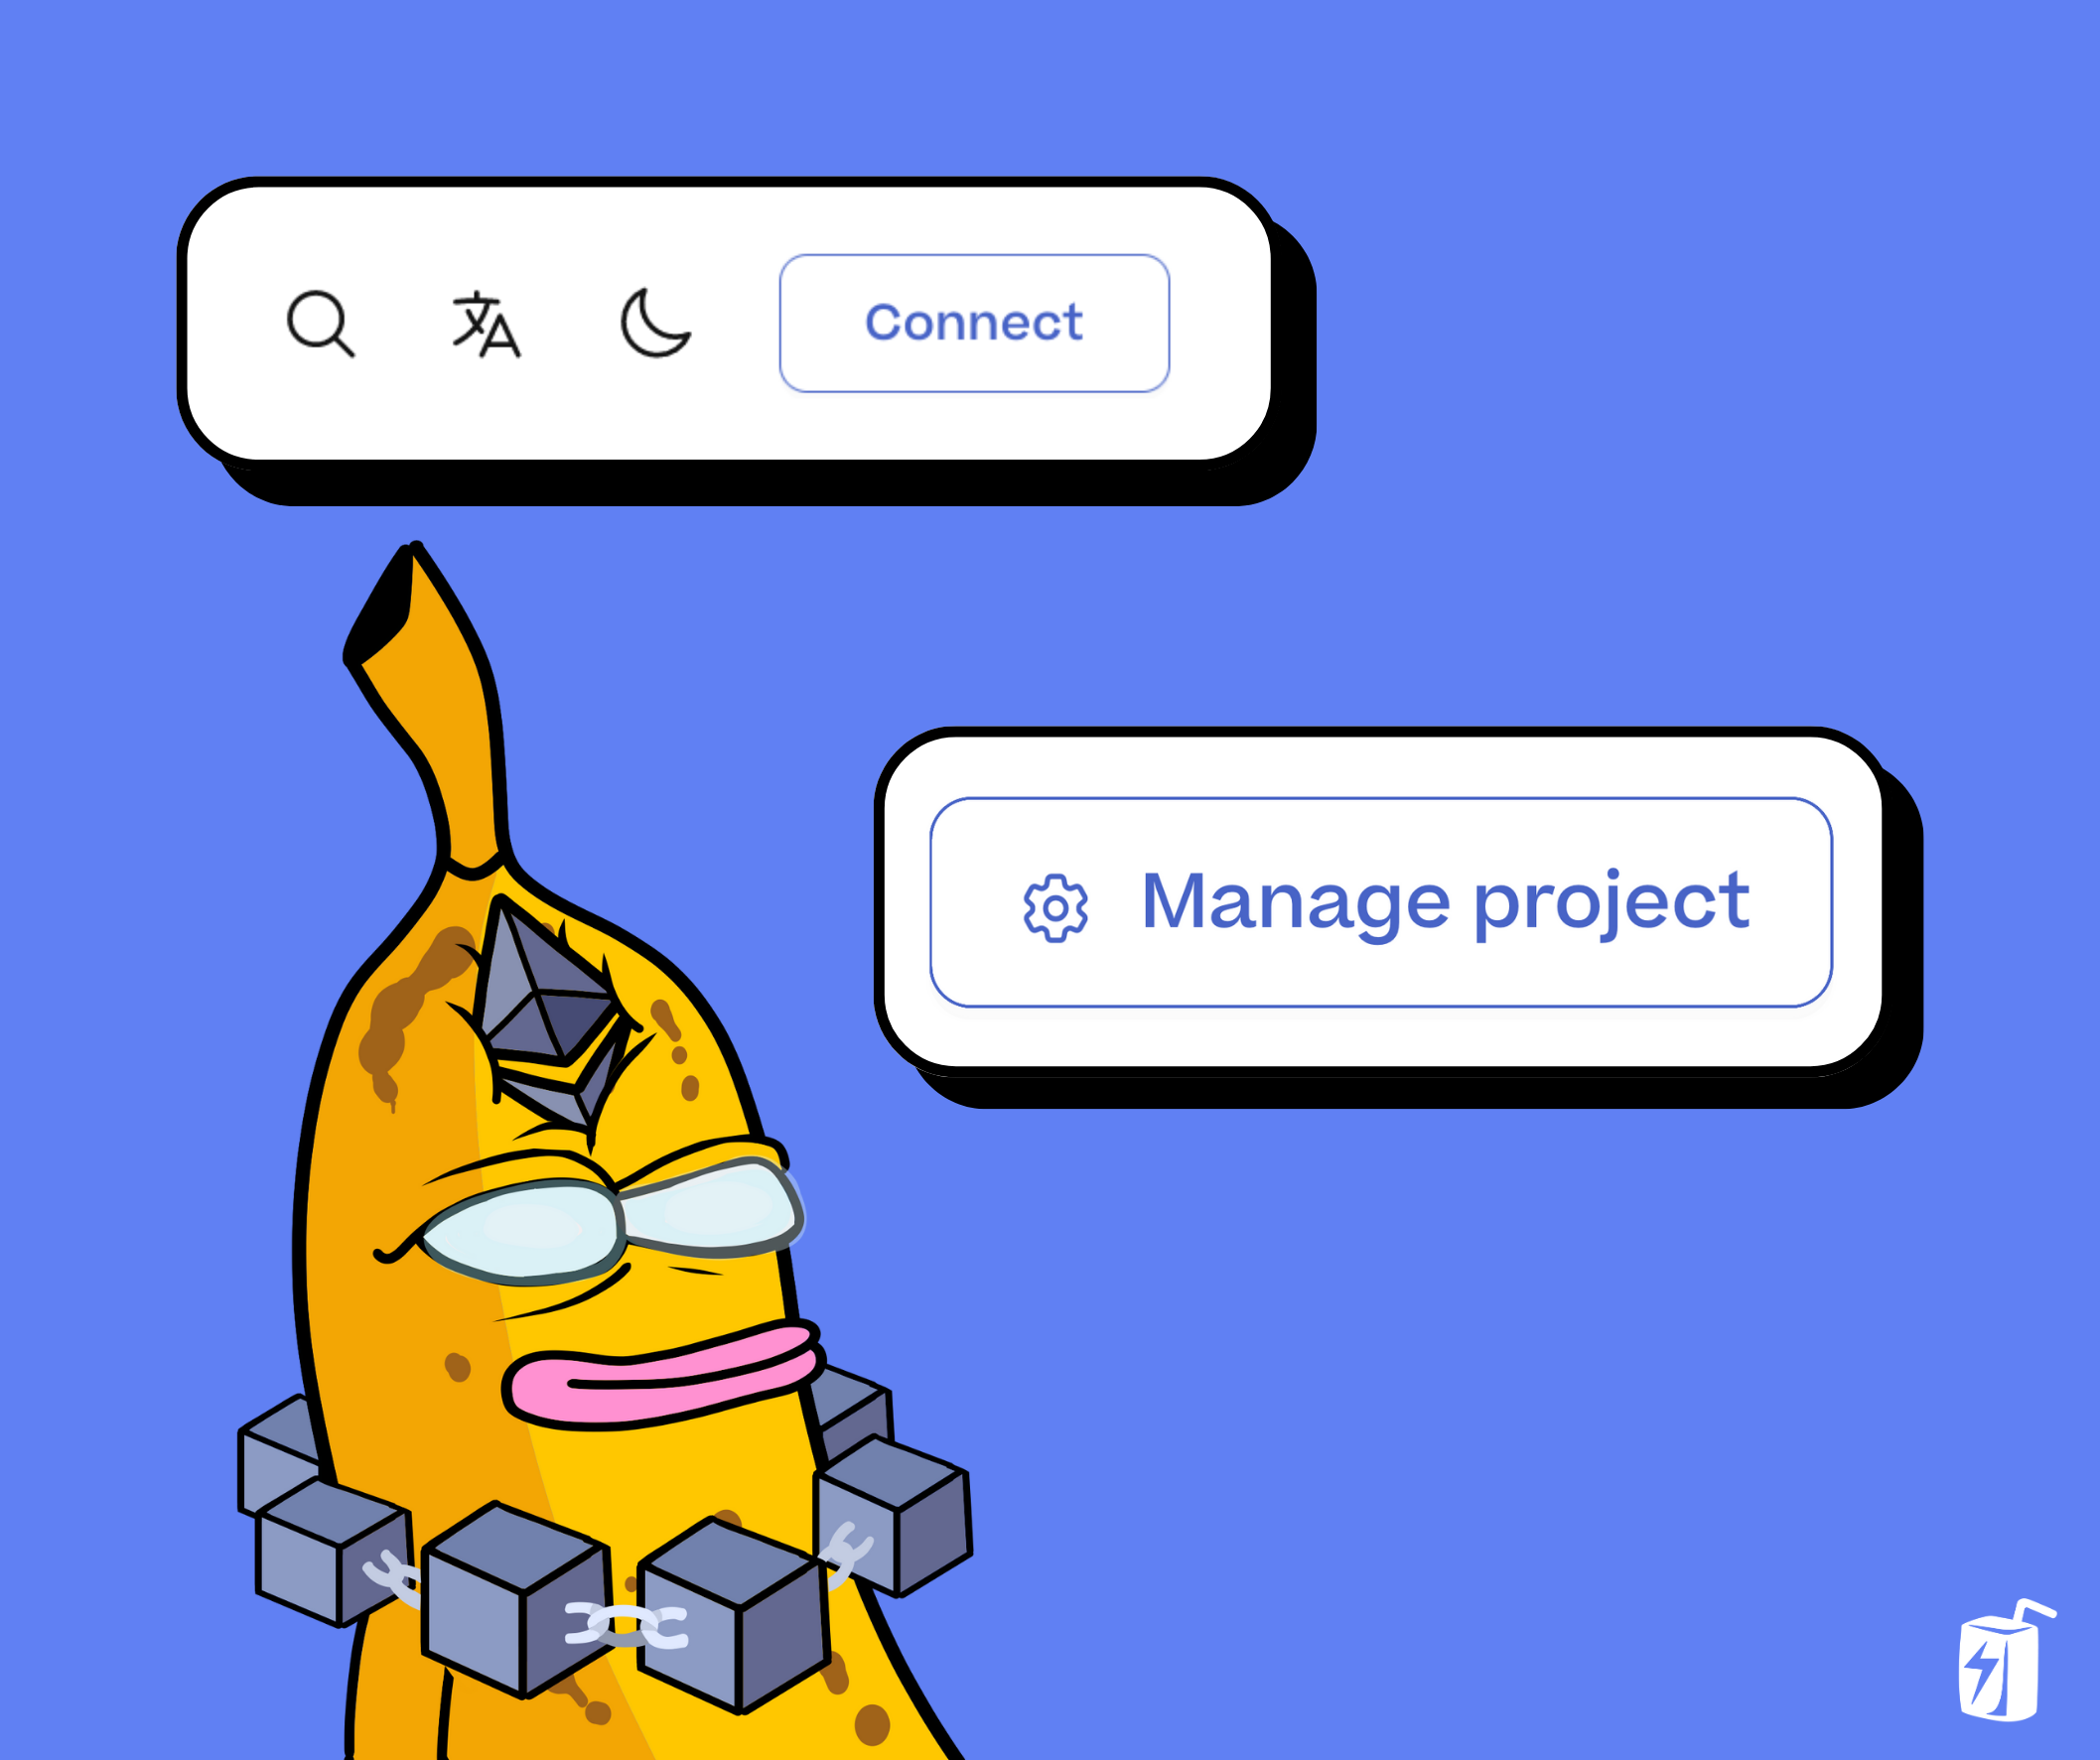
Connect wallet and click manage project

Step 2: Basic Details

Next, we’ll go to Basic Details under General. Here you’ll see two new fields under your project name. You can add a tagline, where you can add a brief one-sentence summary of your project. And below that, we have the project description where we can add a more detailed summary of what this project is about, why you should contribute, and add some links and images for context.
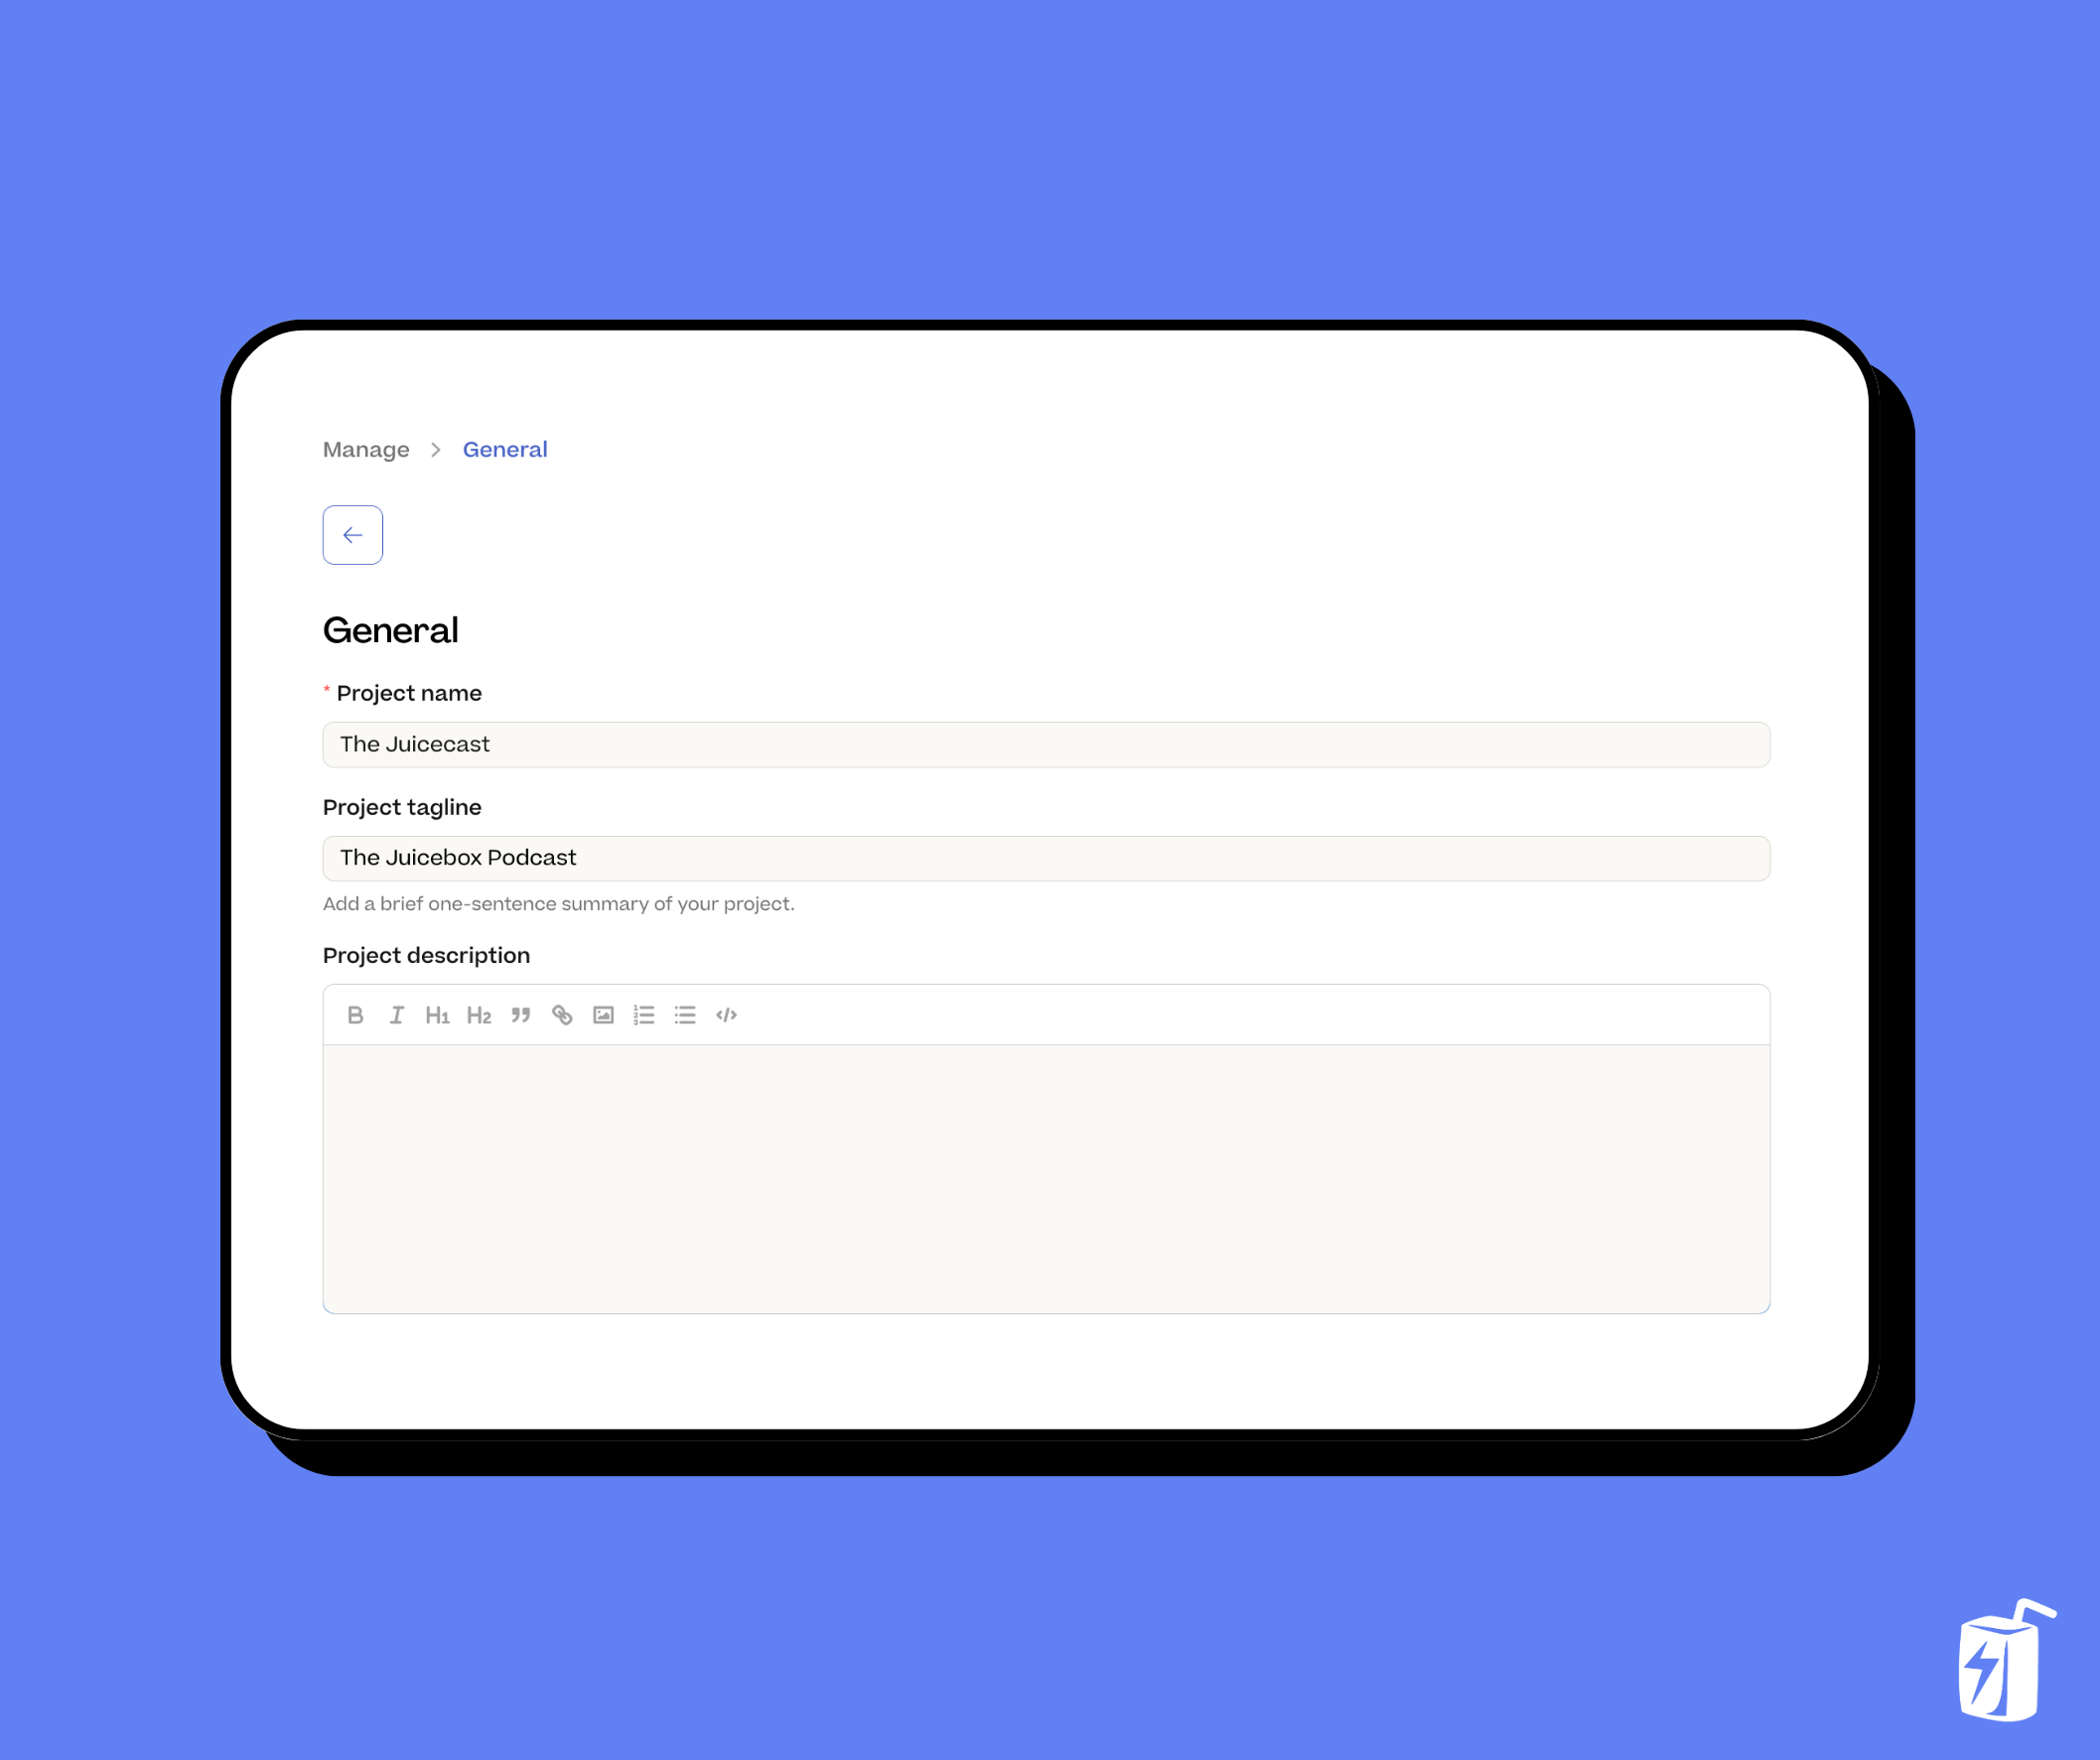
Screenshot showing new project description editor

Step 3: Introduce yourself

You can start from scratch in the editor or copy and paste some text you already have. Start with an introduction either about who you are or what the project is about. This where you can tell your story to connect with your audience. Here are some tips to consider:

  • Use headings like H1 or H2 to help organize the structure of your summary. This is especially helpful for long project descriptions so that potential backers can easily skim through your text to find what they want to know about you and your project.
  • When referencing subjects in your summary, it’s a good idea to hyperlink text so that people can know more about something if they’re interested. This is also a great way to build trust if you want people to know more than what your wallet says about you or the project.
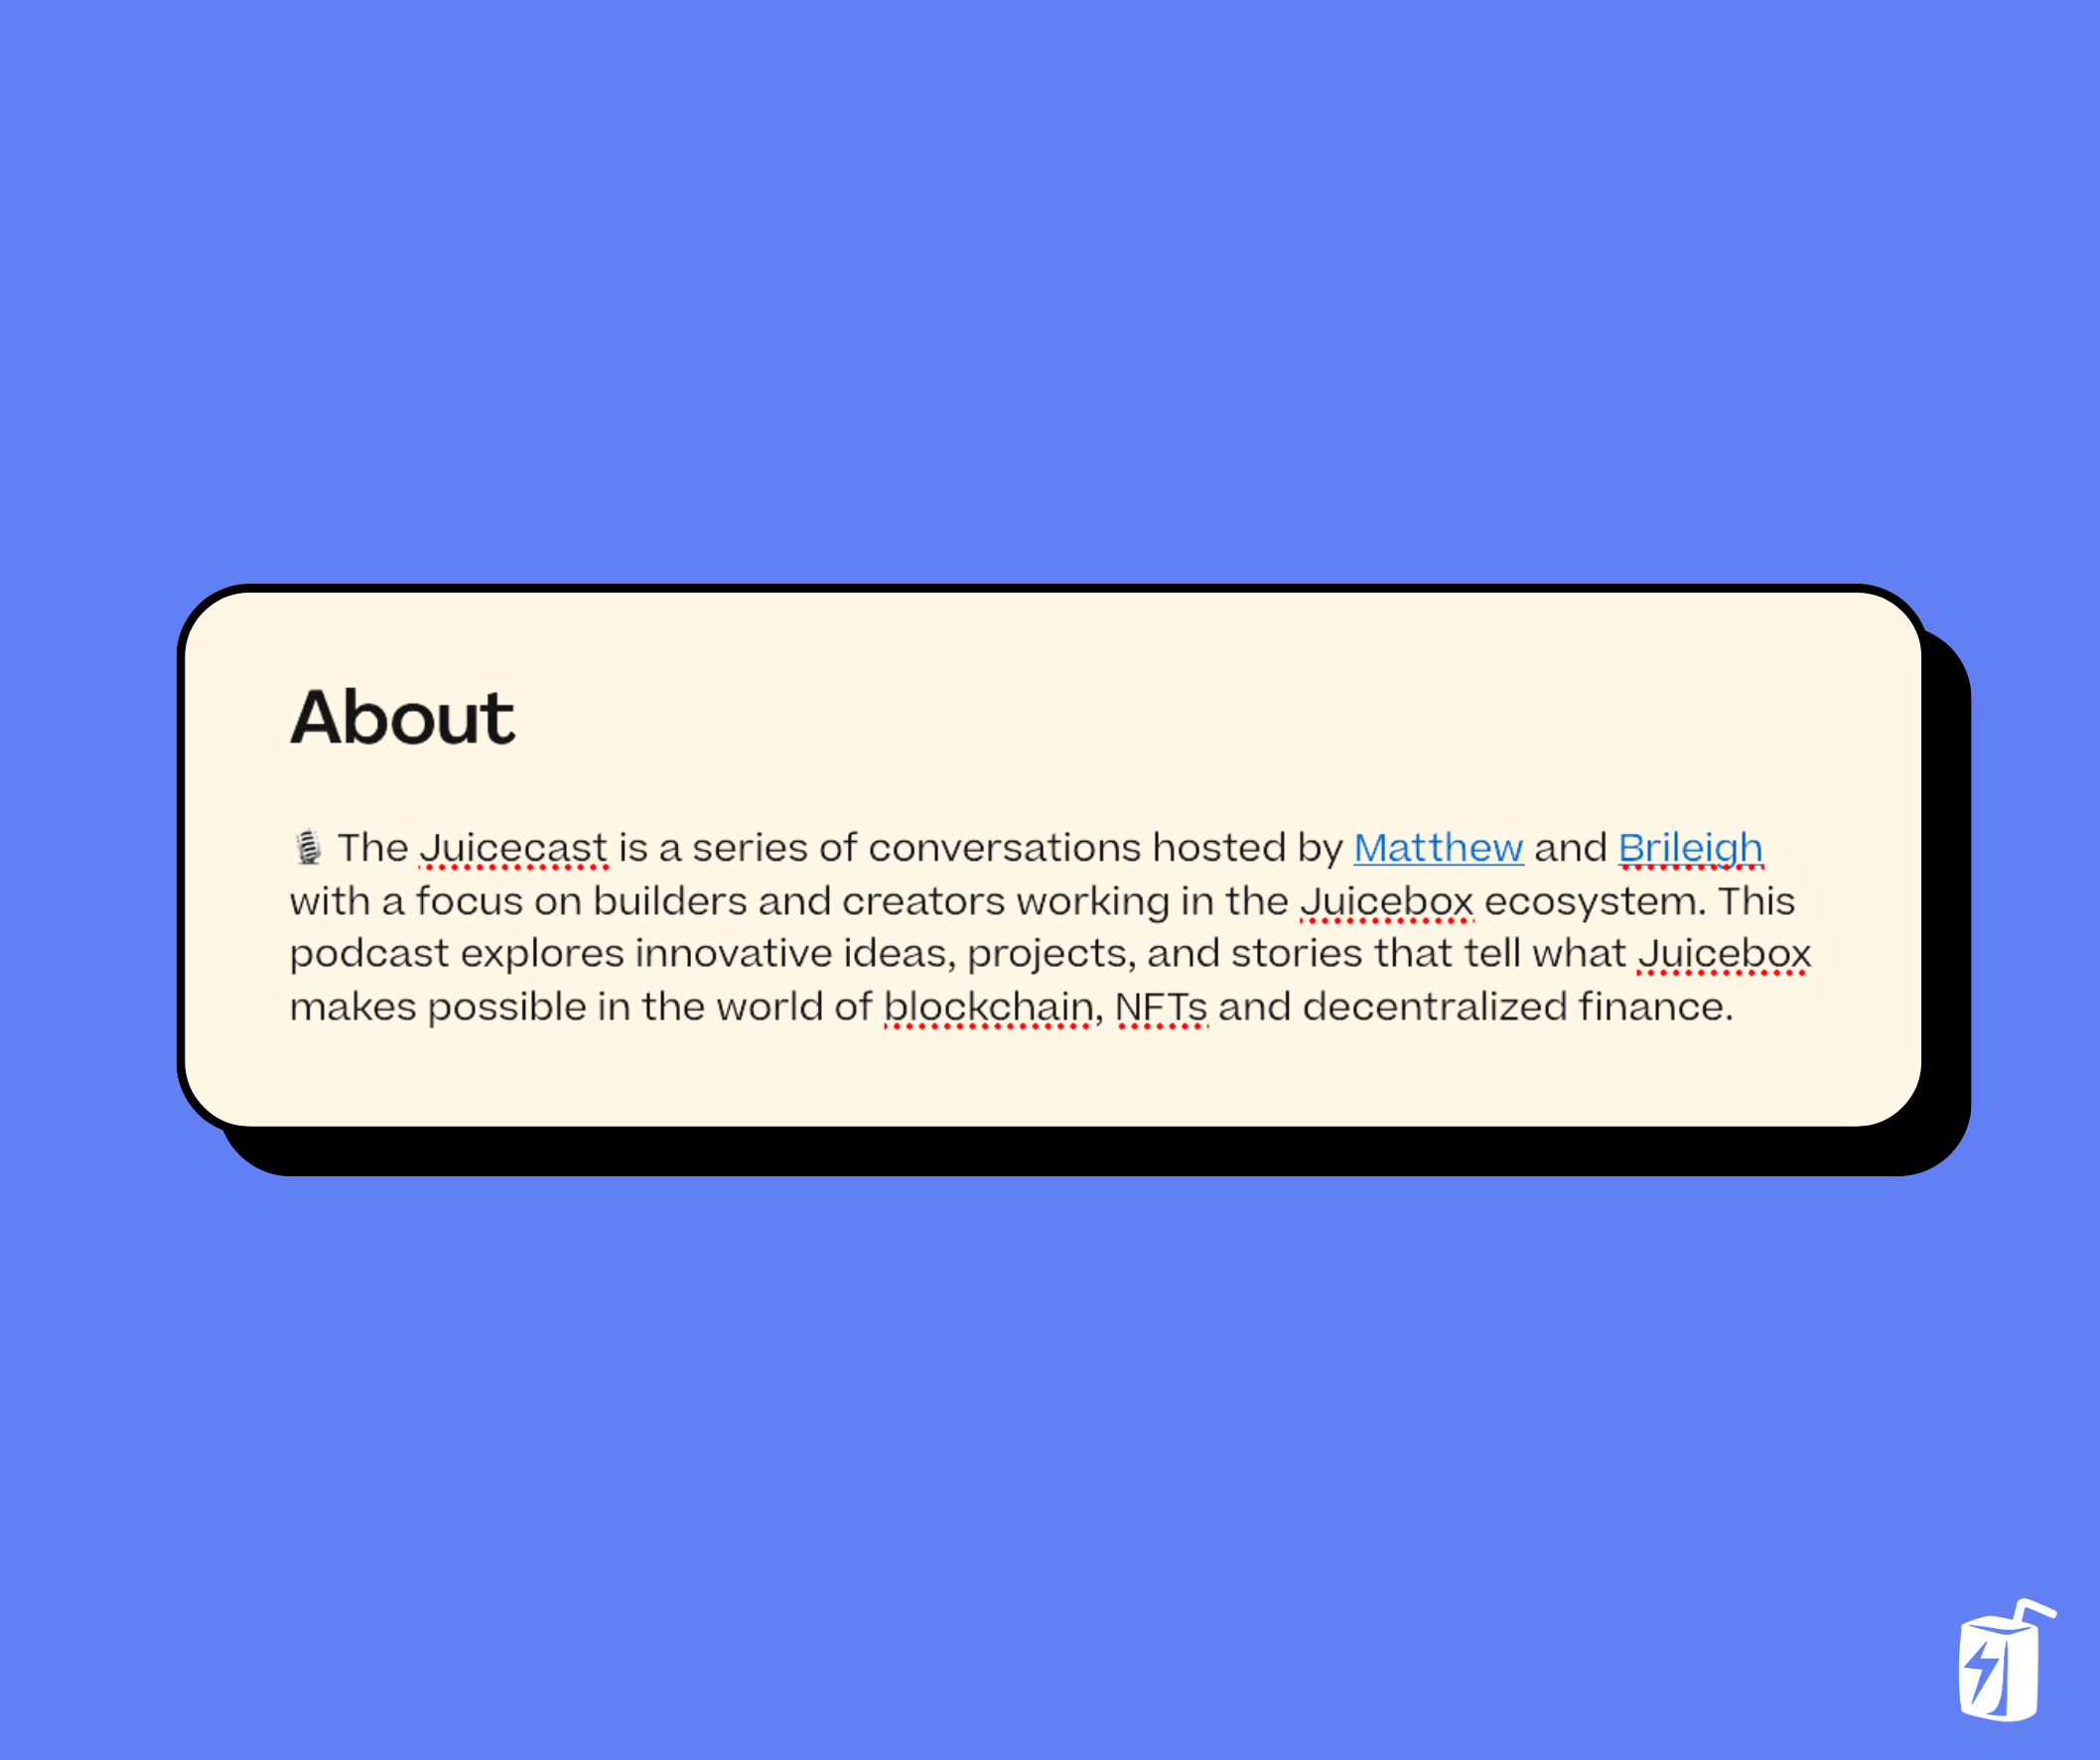
Example introduction text

Step 4: Add images to break up text

Adding visuals to your project description is really important because it helps break up text, especially if you have a long description. To add the image, click on the image icon and upload the photo. Examples of images you could include are:

  • Photographs (if you have hosted IRL events or have a product you want to showcase)
  • Infographics (to explain complex aspects of your project)
  • Brand materials (logos, typefaces, anything you want to show off that you think will resonate with people)
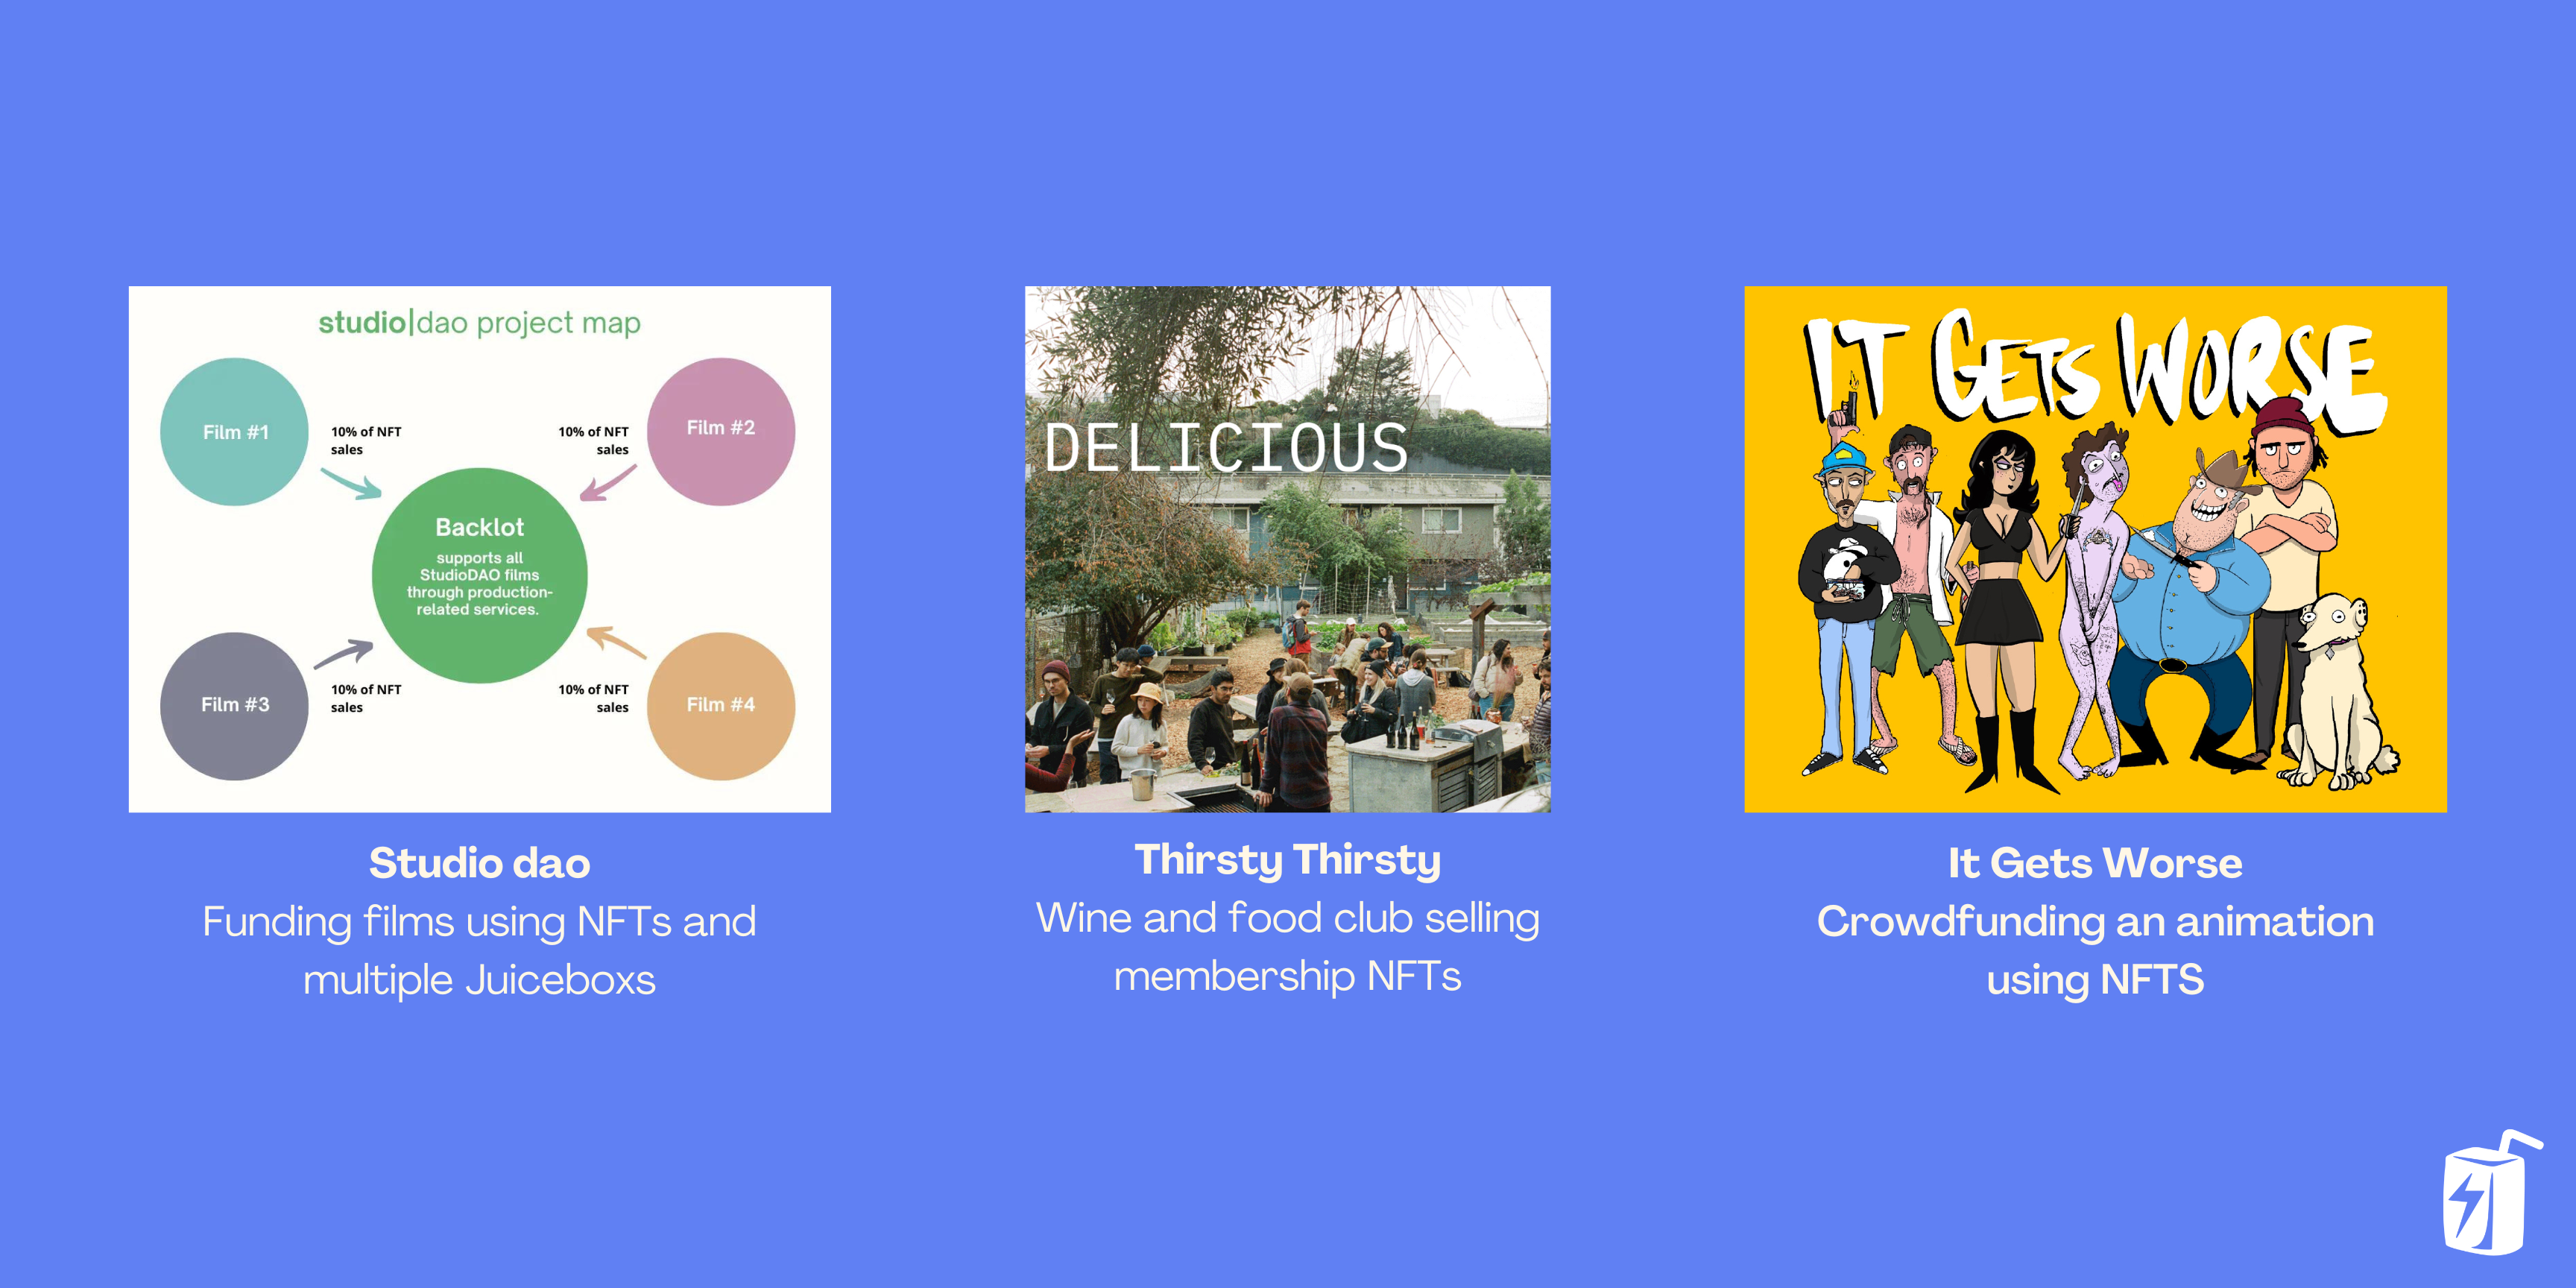
Examples of images to include in your project description

Examples of different images you can add to your project

Step 5: Tell people your “Why”

Once you’ve explained what your project is about and how it works, consider adding reasons why people should contribute to your project. Whether you’re on Juicebox or another platform, it’s important to think about why someone would want to contribute to your project, what they might receive in return. You can add more images if this helps contextualize what you’re seeking funds for and why.
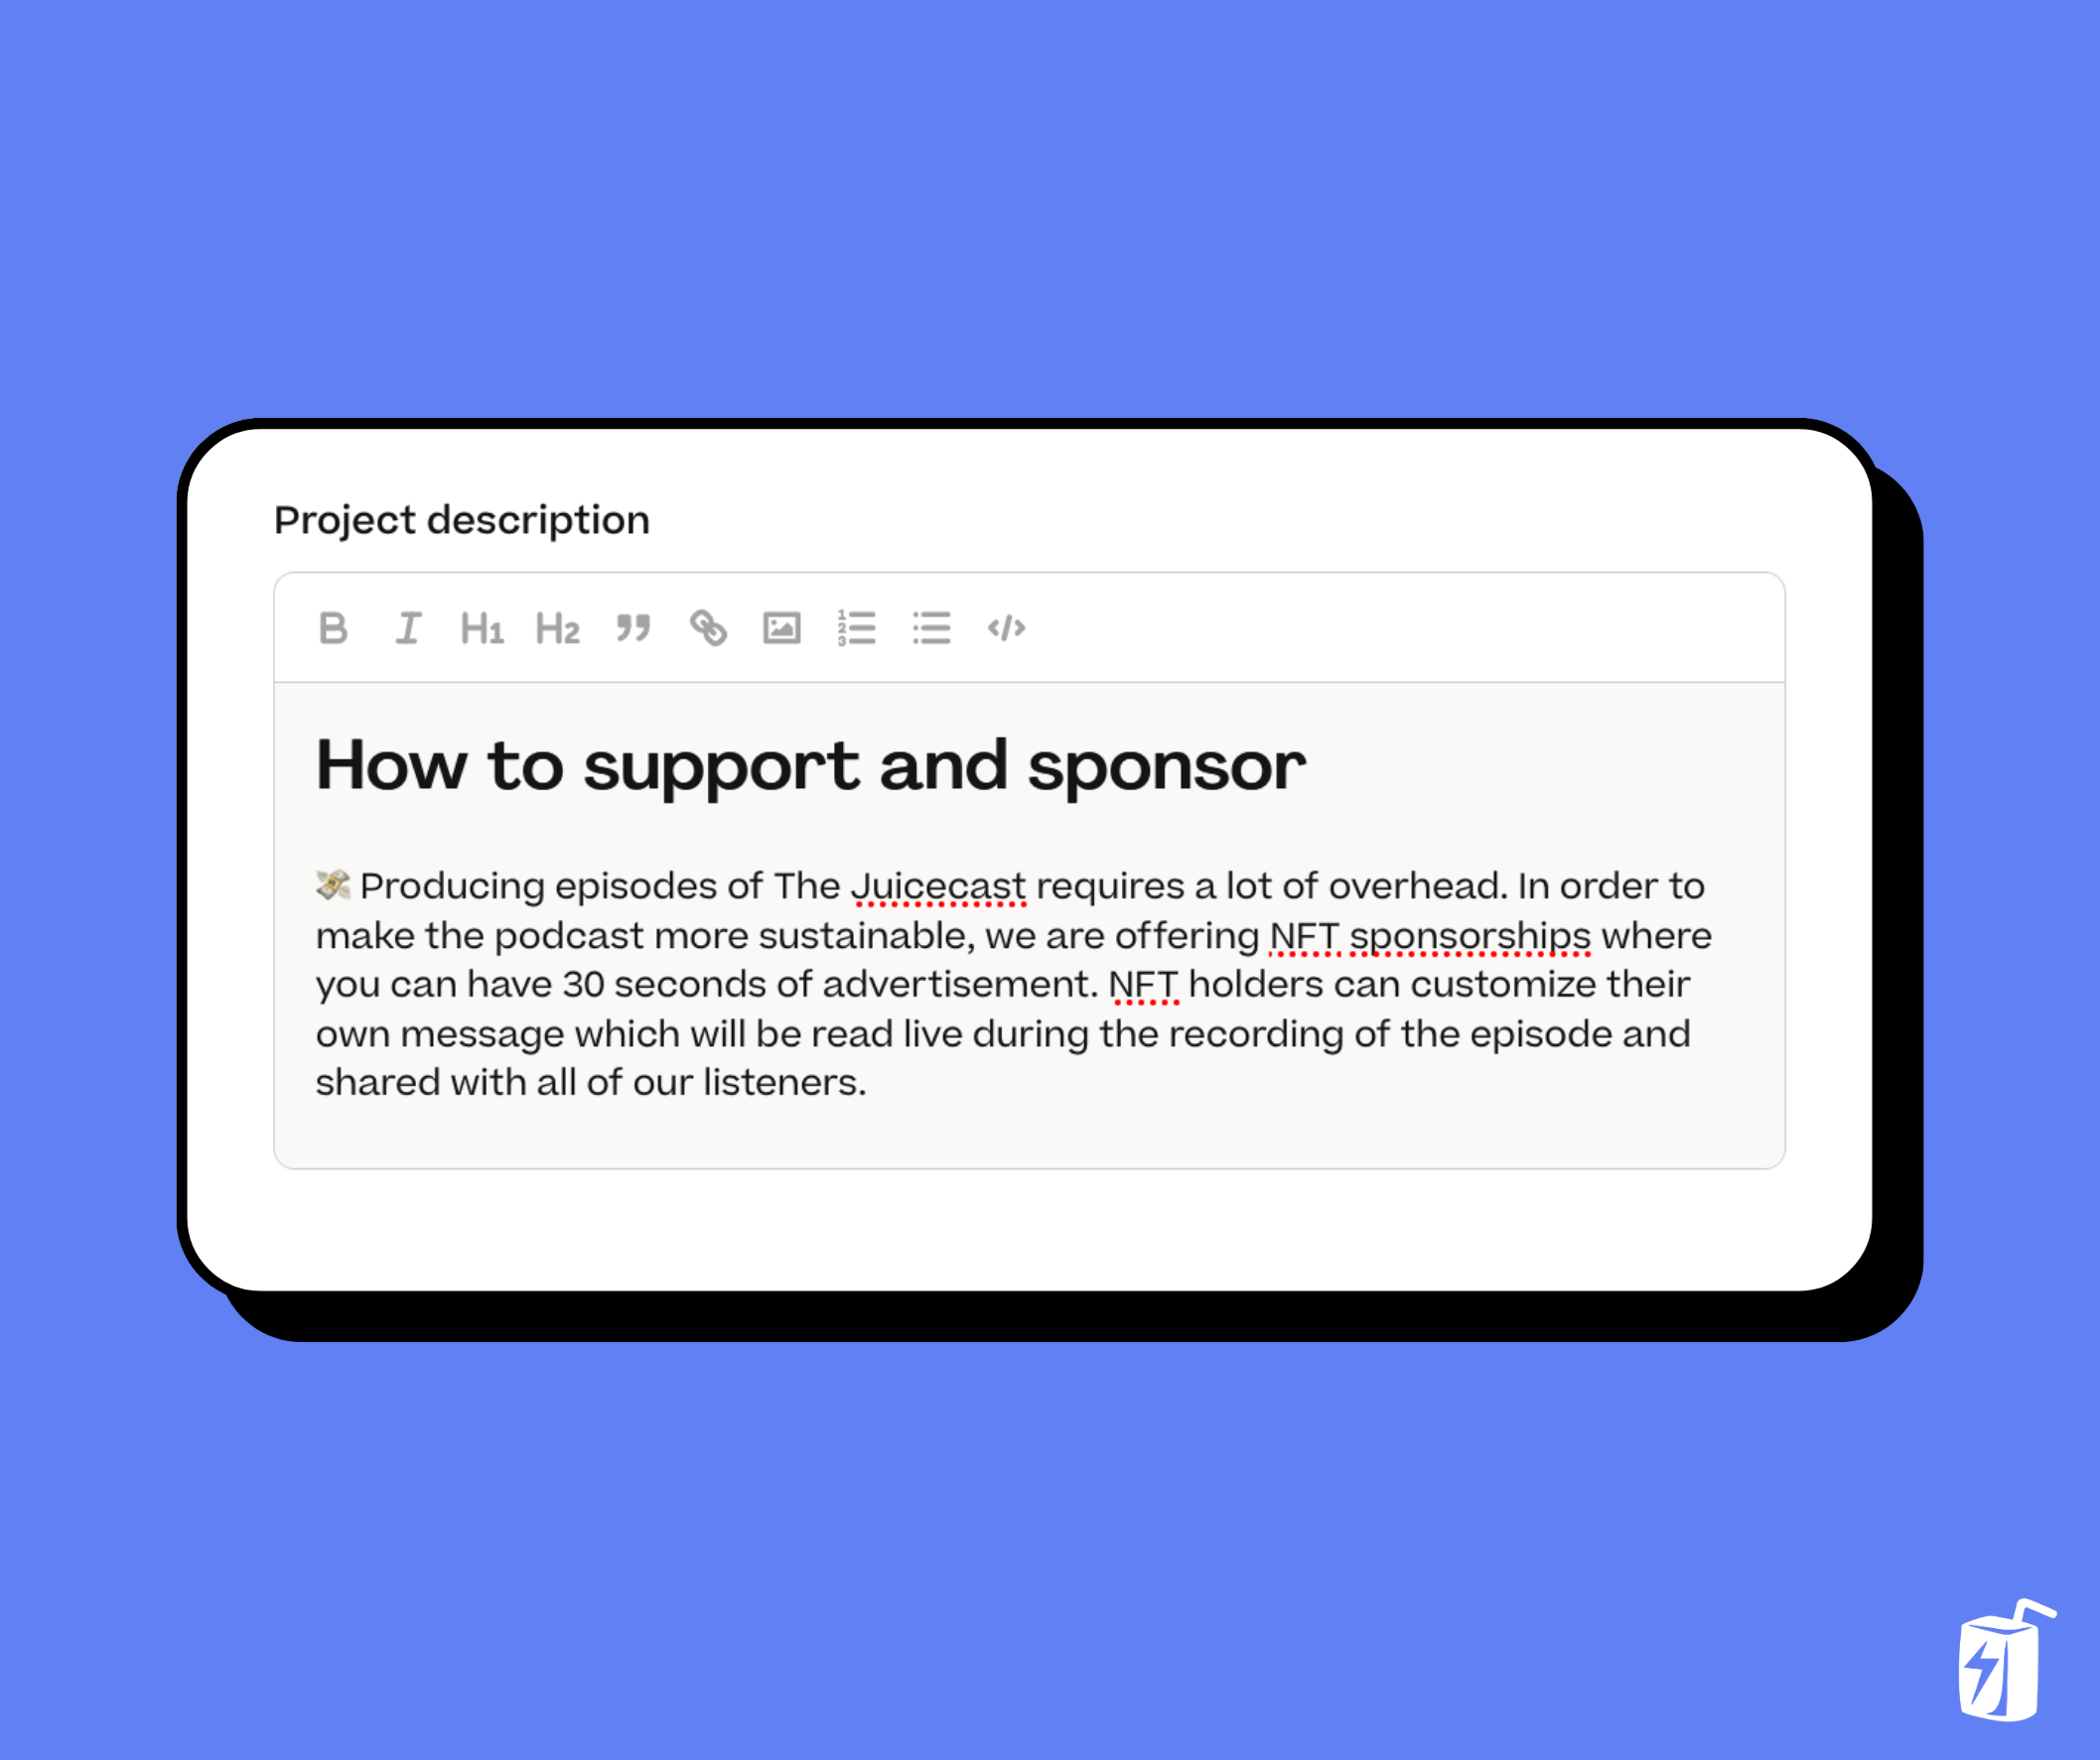
Example text explaining why you're seeking funds

Step 6: How can people find you and get involved?

Good contact information helps build trust and makes you more accessible. Adding links for contract information or how to get involved in a Discord is great way to make your project more inviting to potential supporters. You want to make it easy for people to find you if they want to.
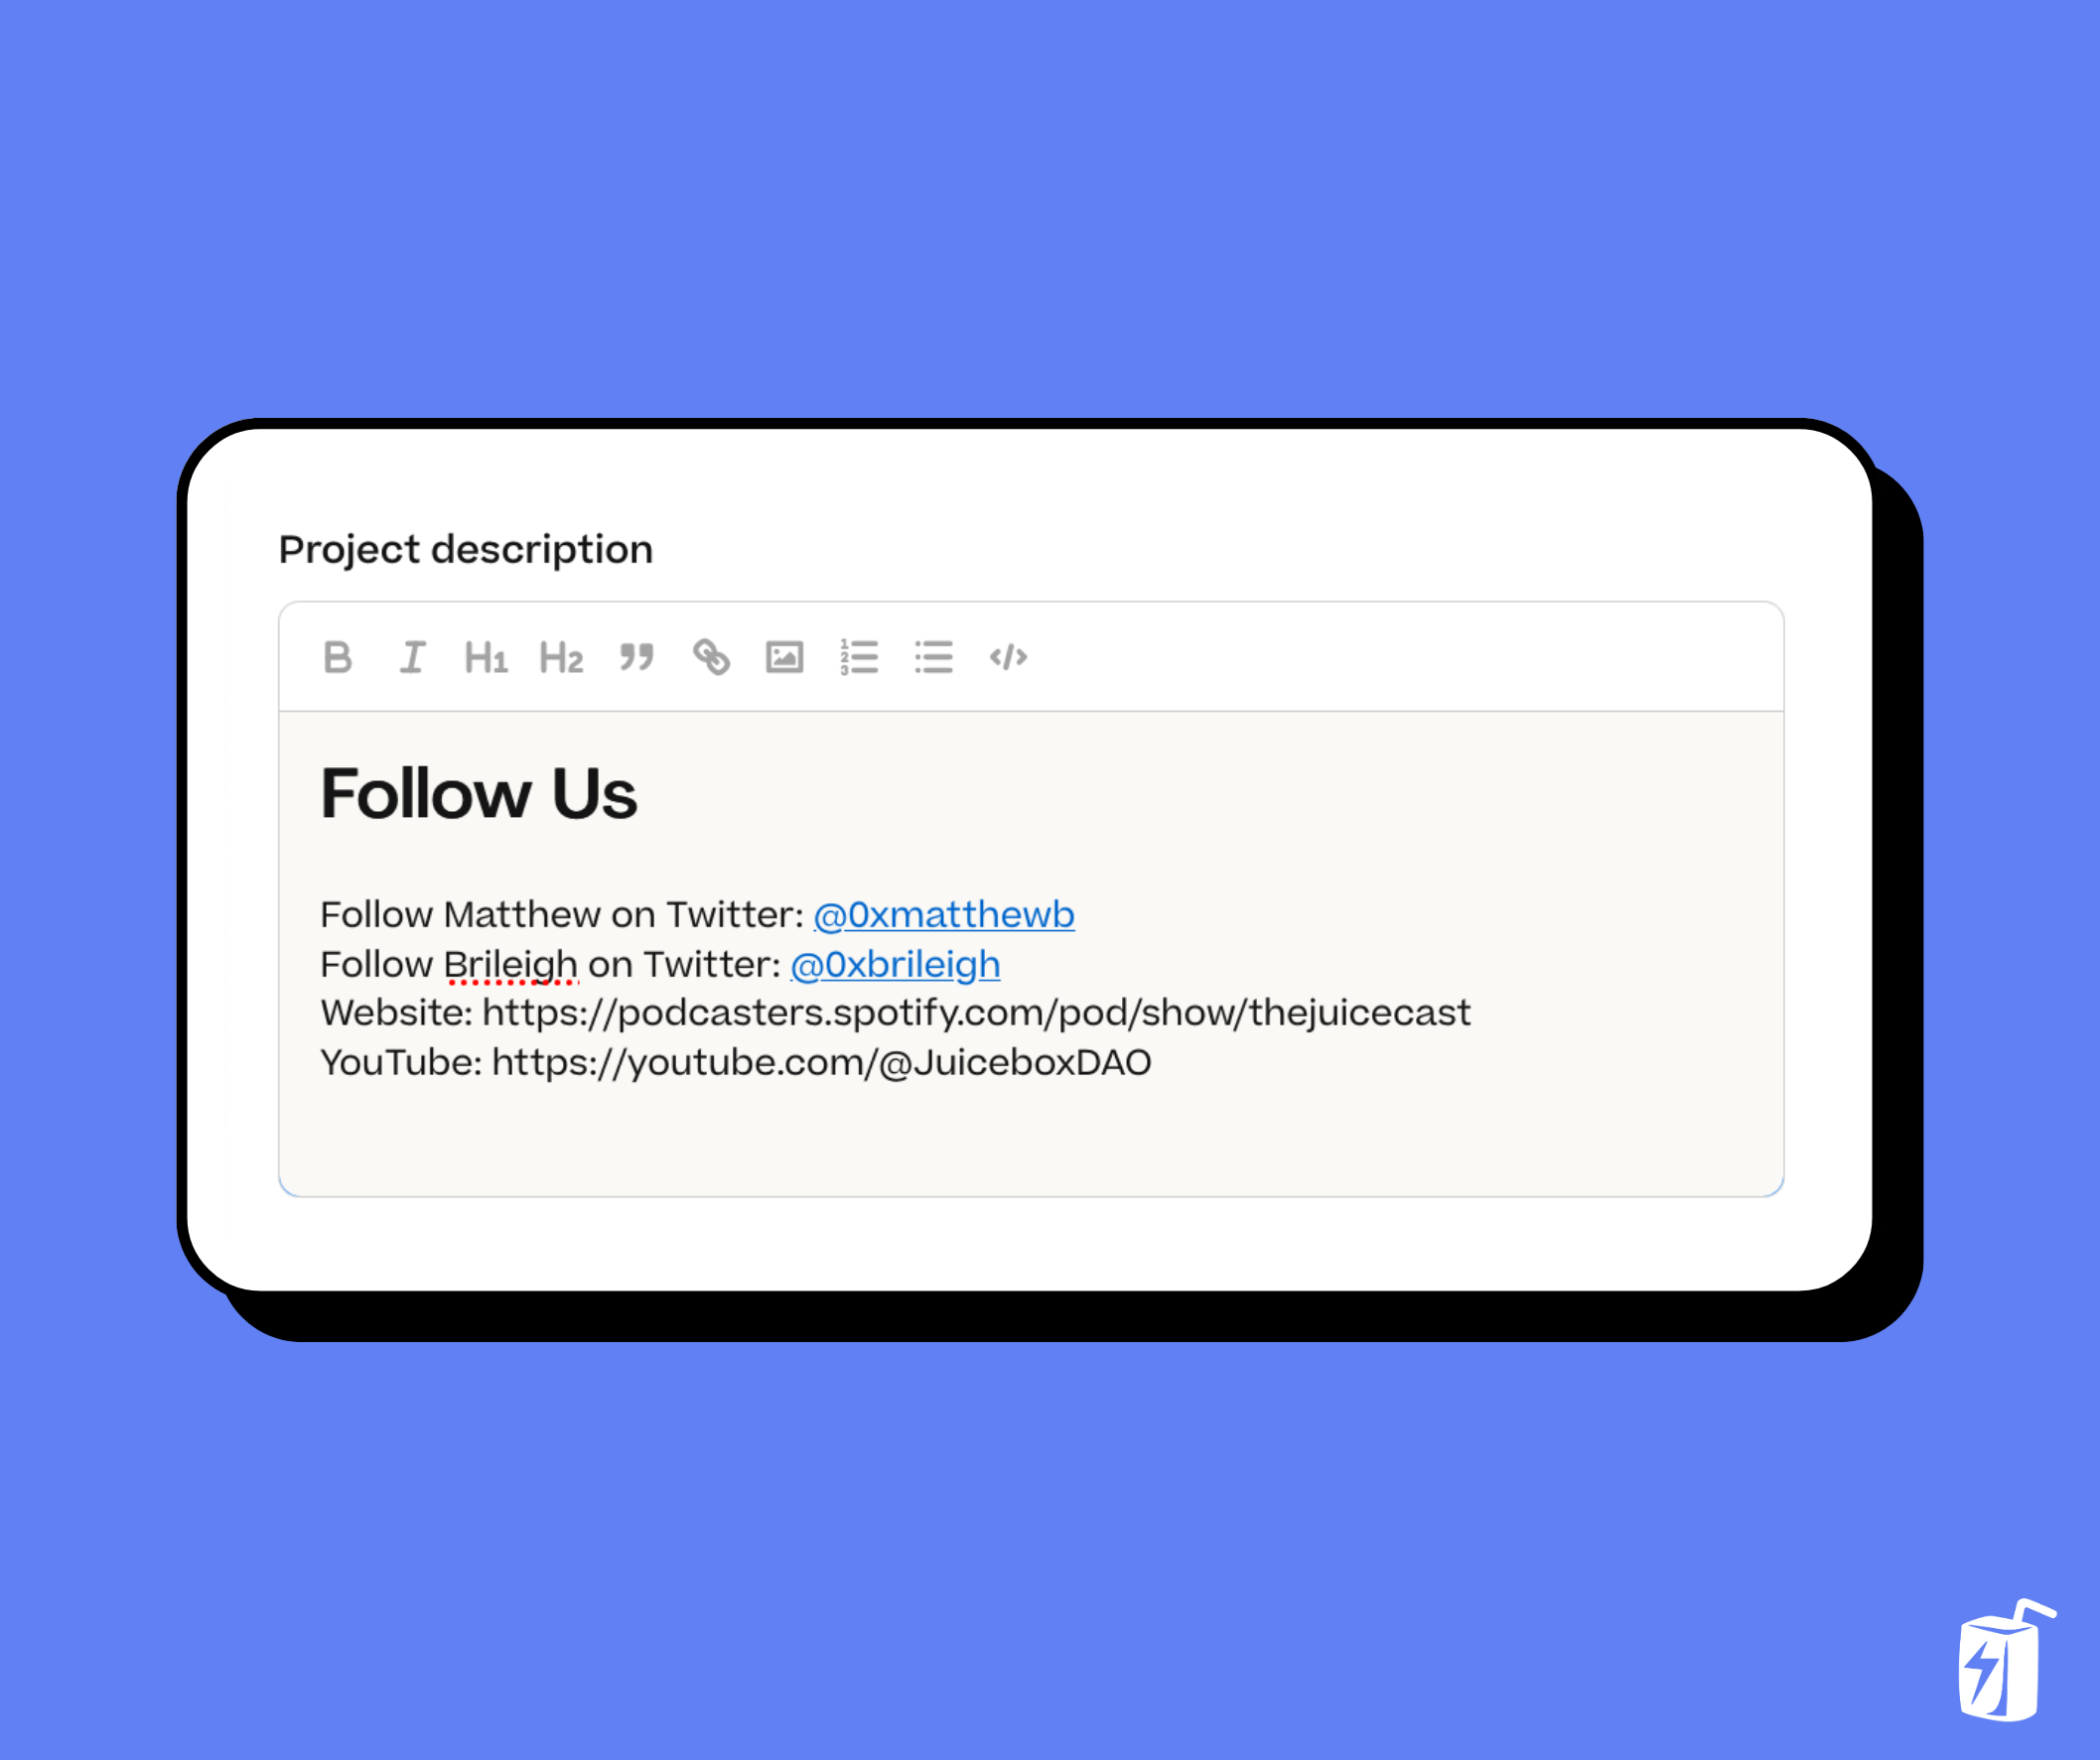
Example of social links

Step 7: Save project details

Once you’re finished editing your project description, scroll down to the bottom and click Save Project Details. This will prompt a transaction that you’ll need to confirm in your wallet. This could take a minute to save and update on juicebox.money. Once it’s done, you can click on the X in the top right and it will bring you back to your project page. Simply refresh your project page, click on the About tab and you’ll see you’re new fully stylized project description! And that’s it!
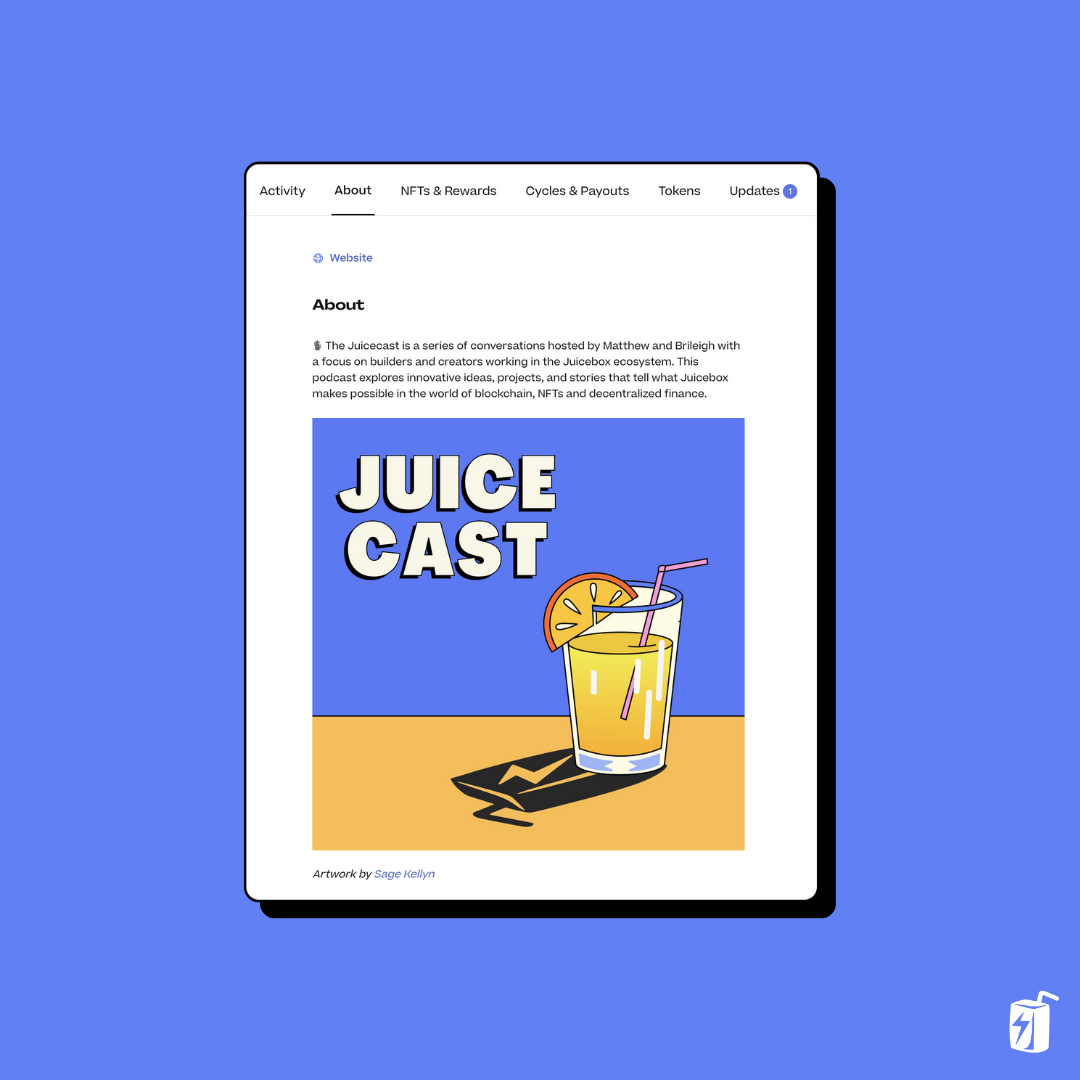
Example of poroject using rich text editor

Conclusion

If you have any questions or need help along the way, jump into the Support channel in Juicebox Discord If you want some one-on-one help setting up your project, reach out at juicebox.money/contact. And if you want to stay on top of the latest news, features, and trending projects in the Juicebox ecosystem, make sure to subscribe to our weekly newsletter Juice News.

🐦 Follow Juicebox on Twitter: @juicebox_money

📬 Subscribe to Juice News, our weekly newsletter

💬 Join the Juicebox Discord

🚀 Trending projects on Juicebox

📚 Project Creator Docs

📹 YouTube Tutorials

🎙️ Listen to an episode of The Juicecast
· 3 min read
Matthew
Brileigh

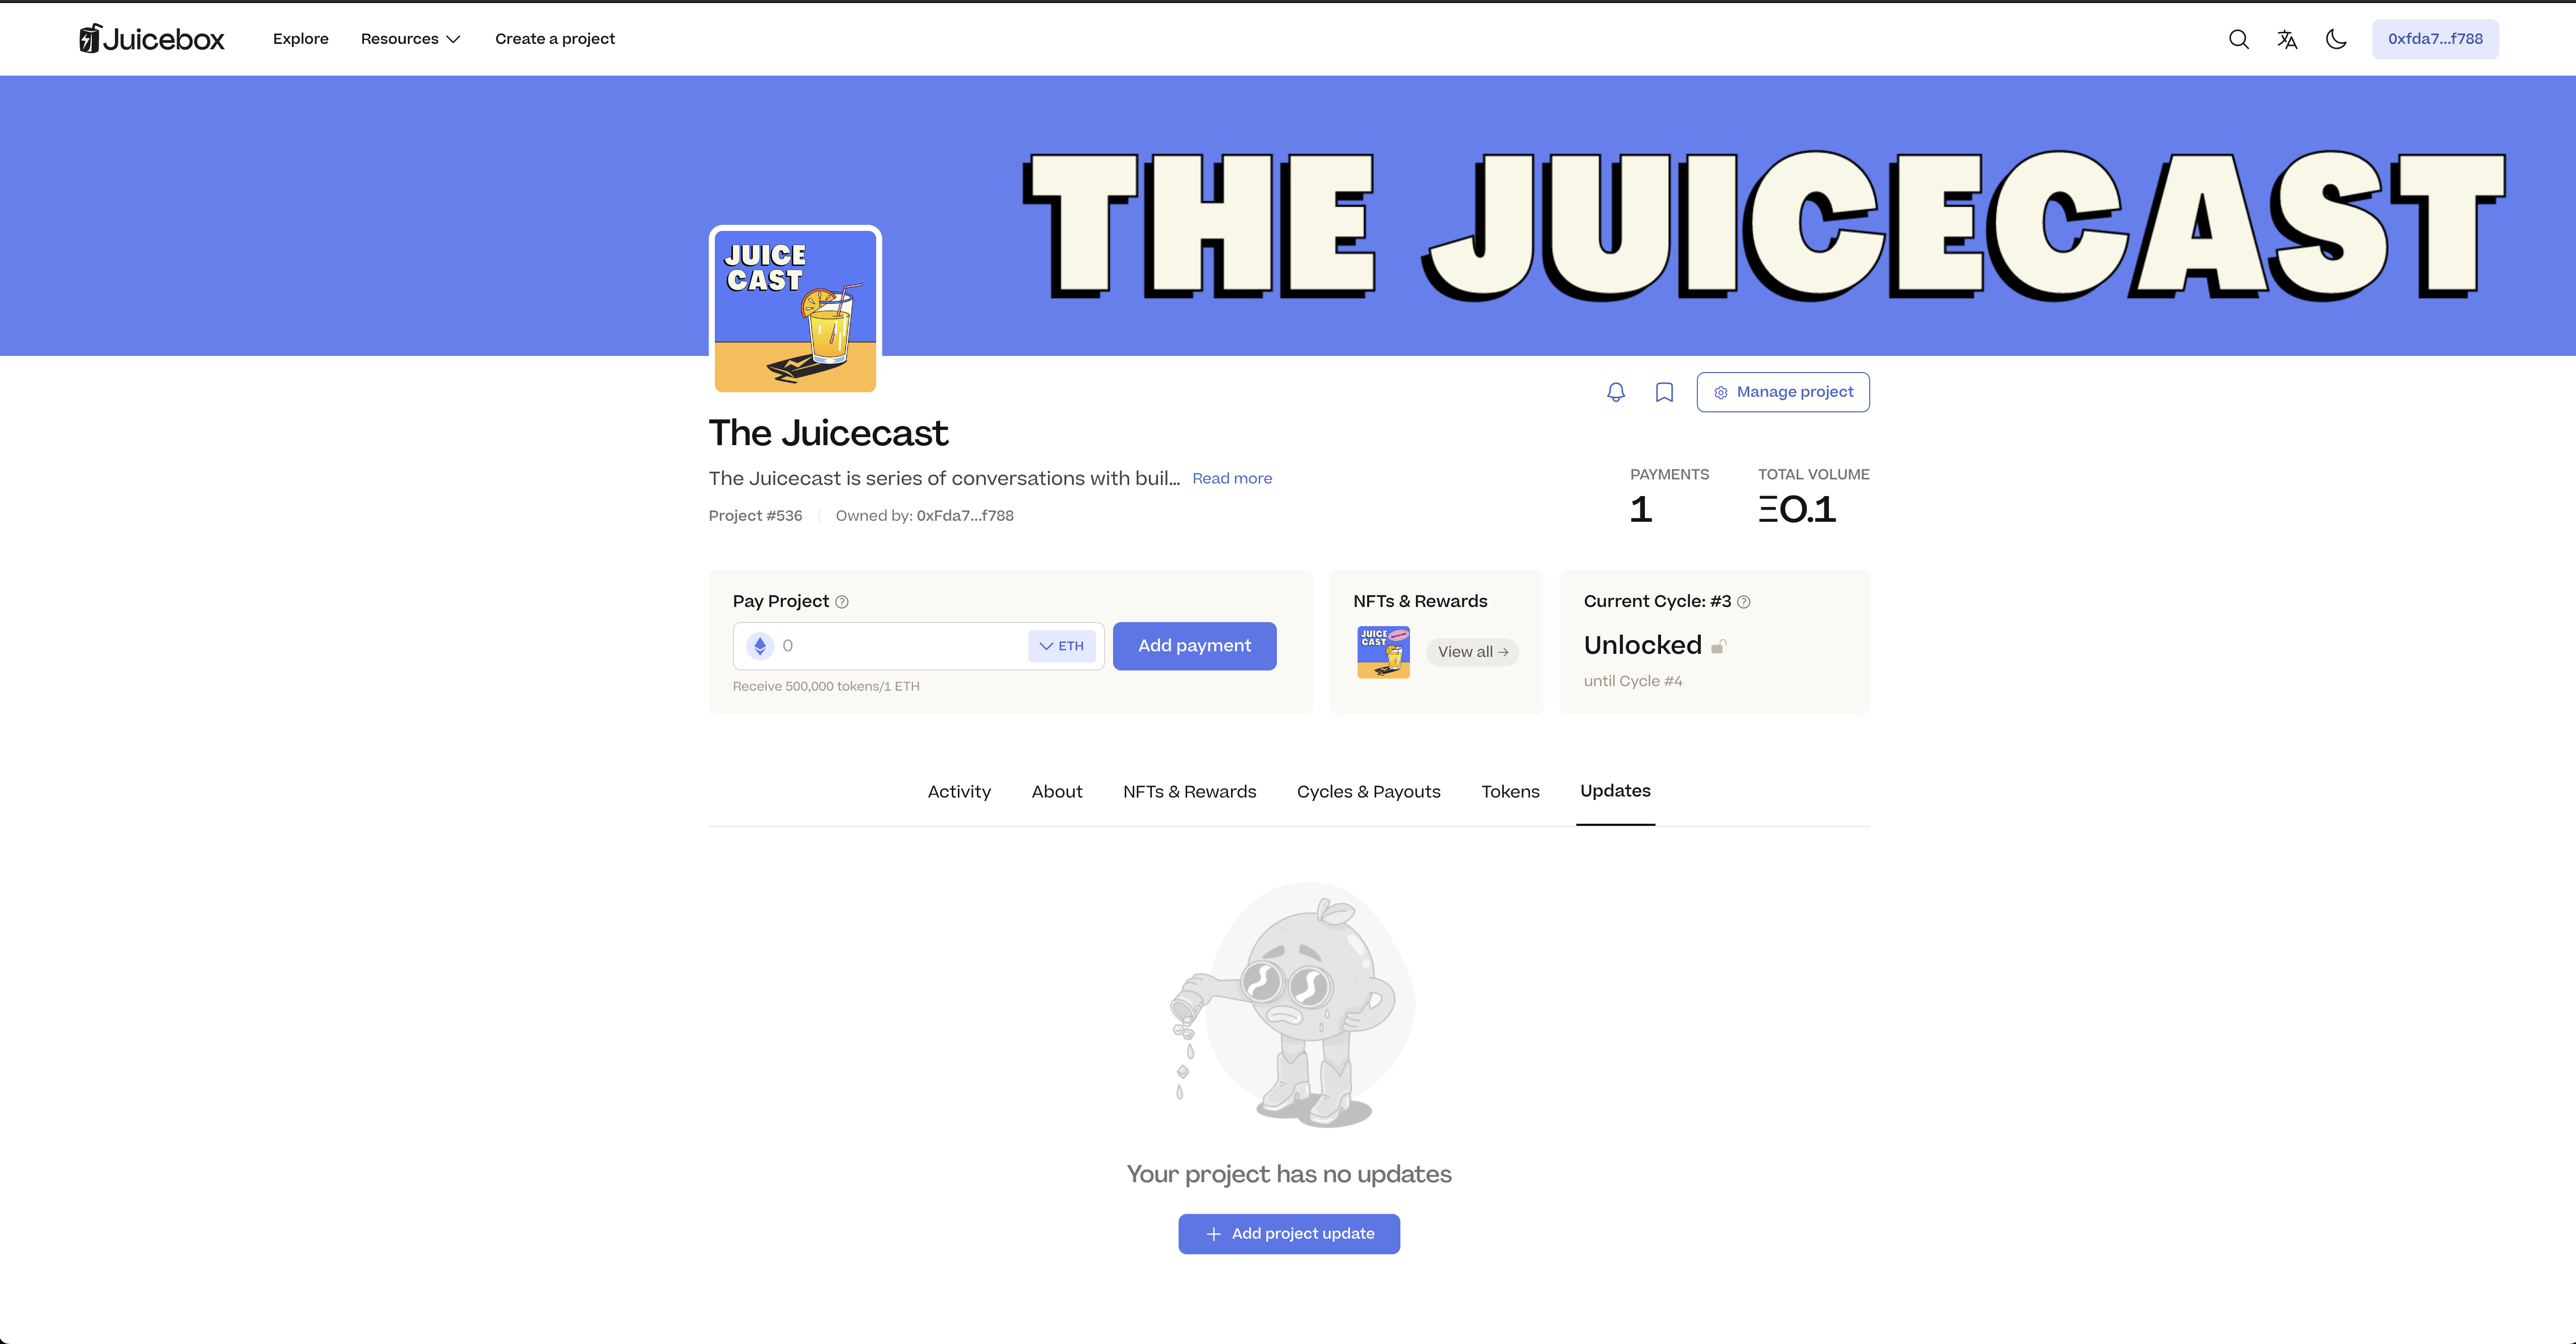
Project Pages on juicebox.money now have a dedicated Updates tab to keep your community informed on the latest news. This can be used for announcements, new milestones, events, partnerships, or any new developments that relate to your project.

project-updates-cover.png

You can learn more about these updates in this article, or this walkthrough by Brileigh on JBDAO YouTube:

For this example, we’ll be using The Juicecast project on Goerli. If you aren’t already familiar, The Juicecast is a series of conversations with builders and creators in the Juicebox ecosystem and beyond. In this example, We’ll post an update informing the community about our new NFT collection that lets supporters sponsor an episode.

Step 1: Connect Wallet & click on the new Updates Tab

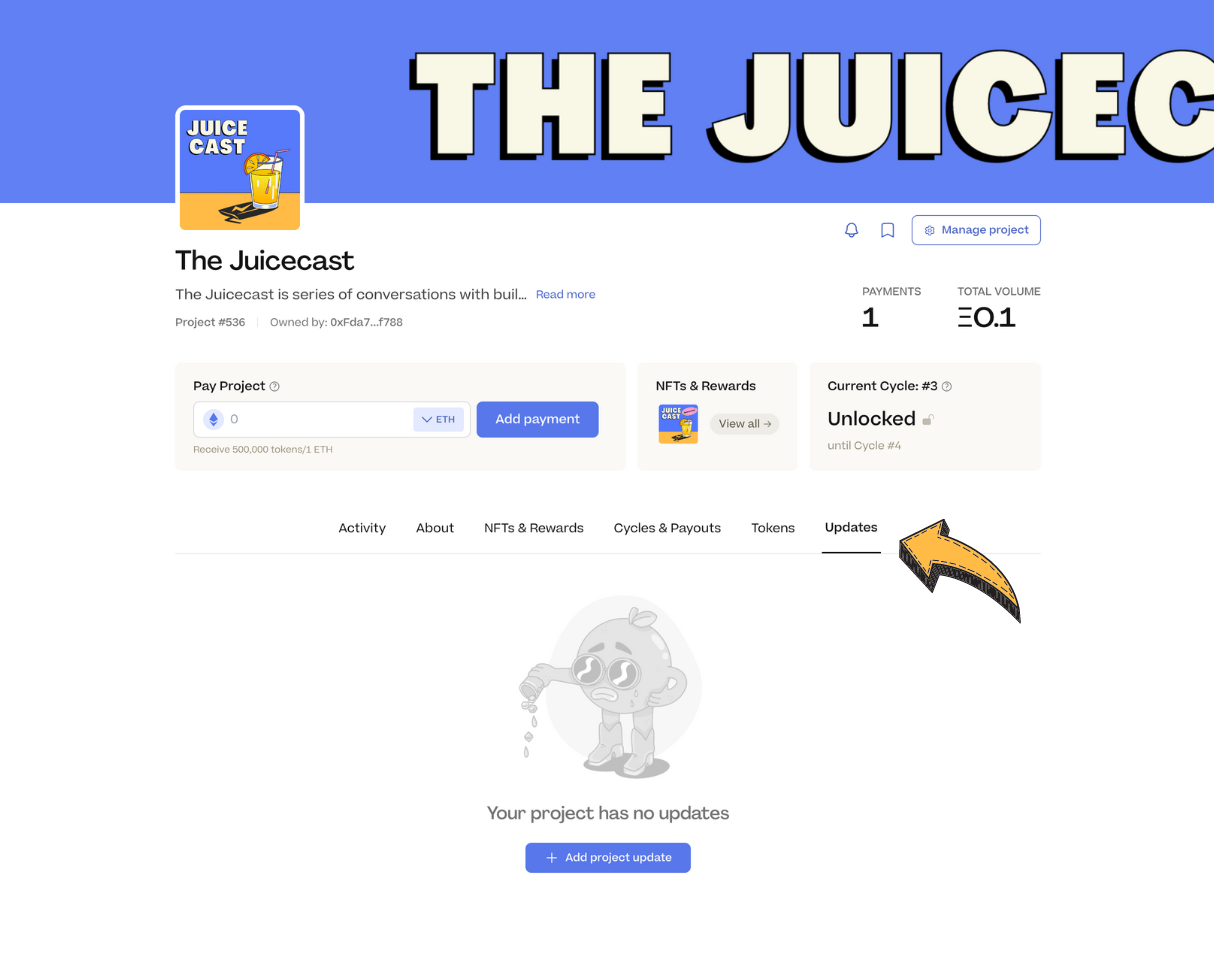
The first thing we’ll do is connect our wallet. On your project page, you’ll notice a new tab that says Updates.

New update tab

Step 2: Add project update

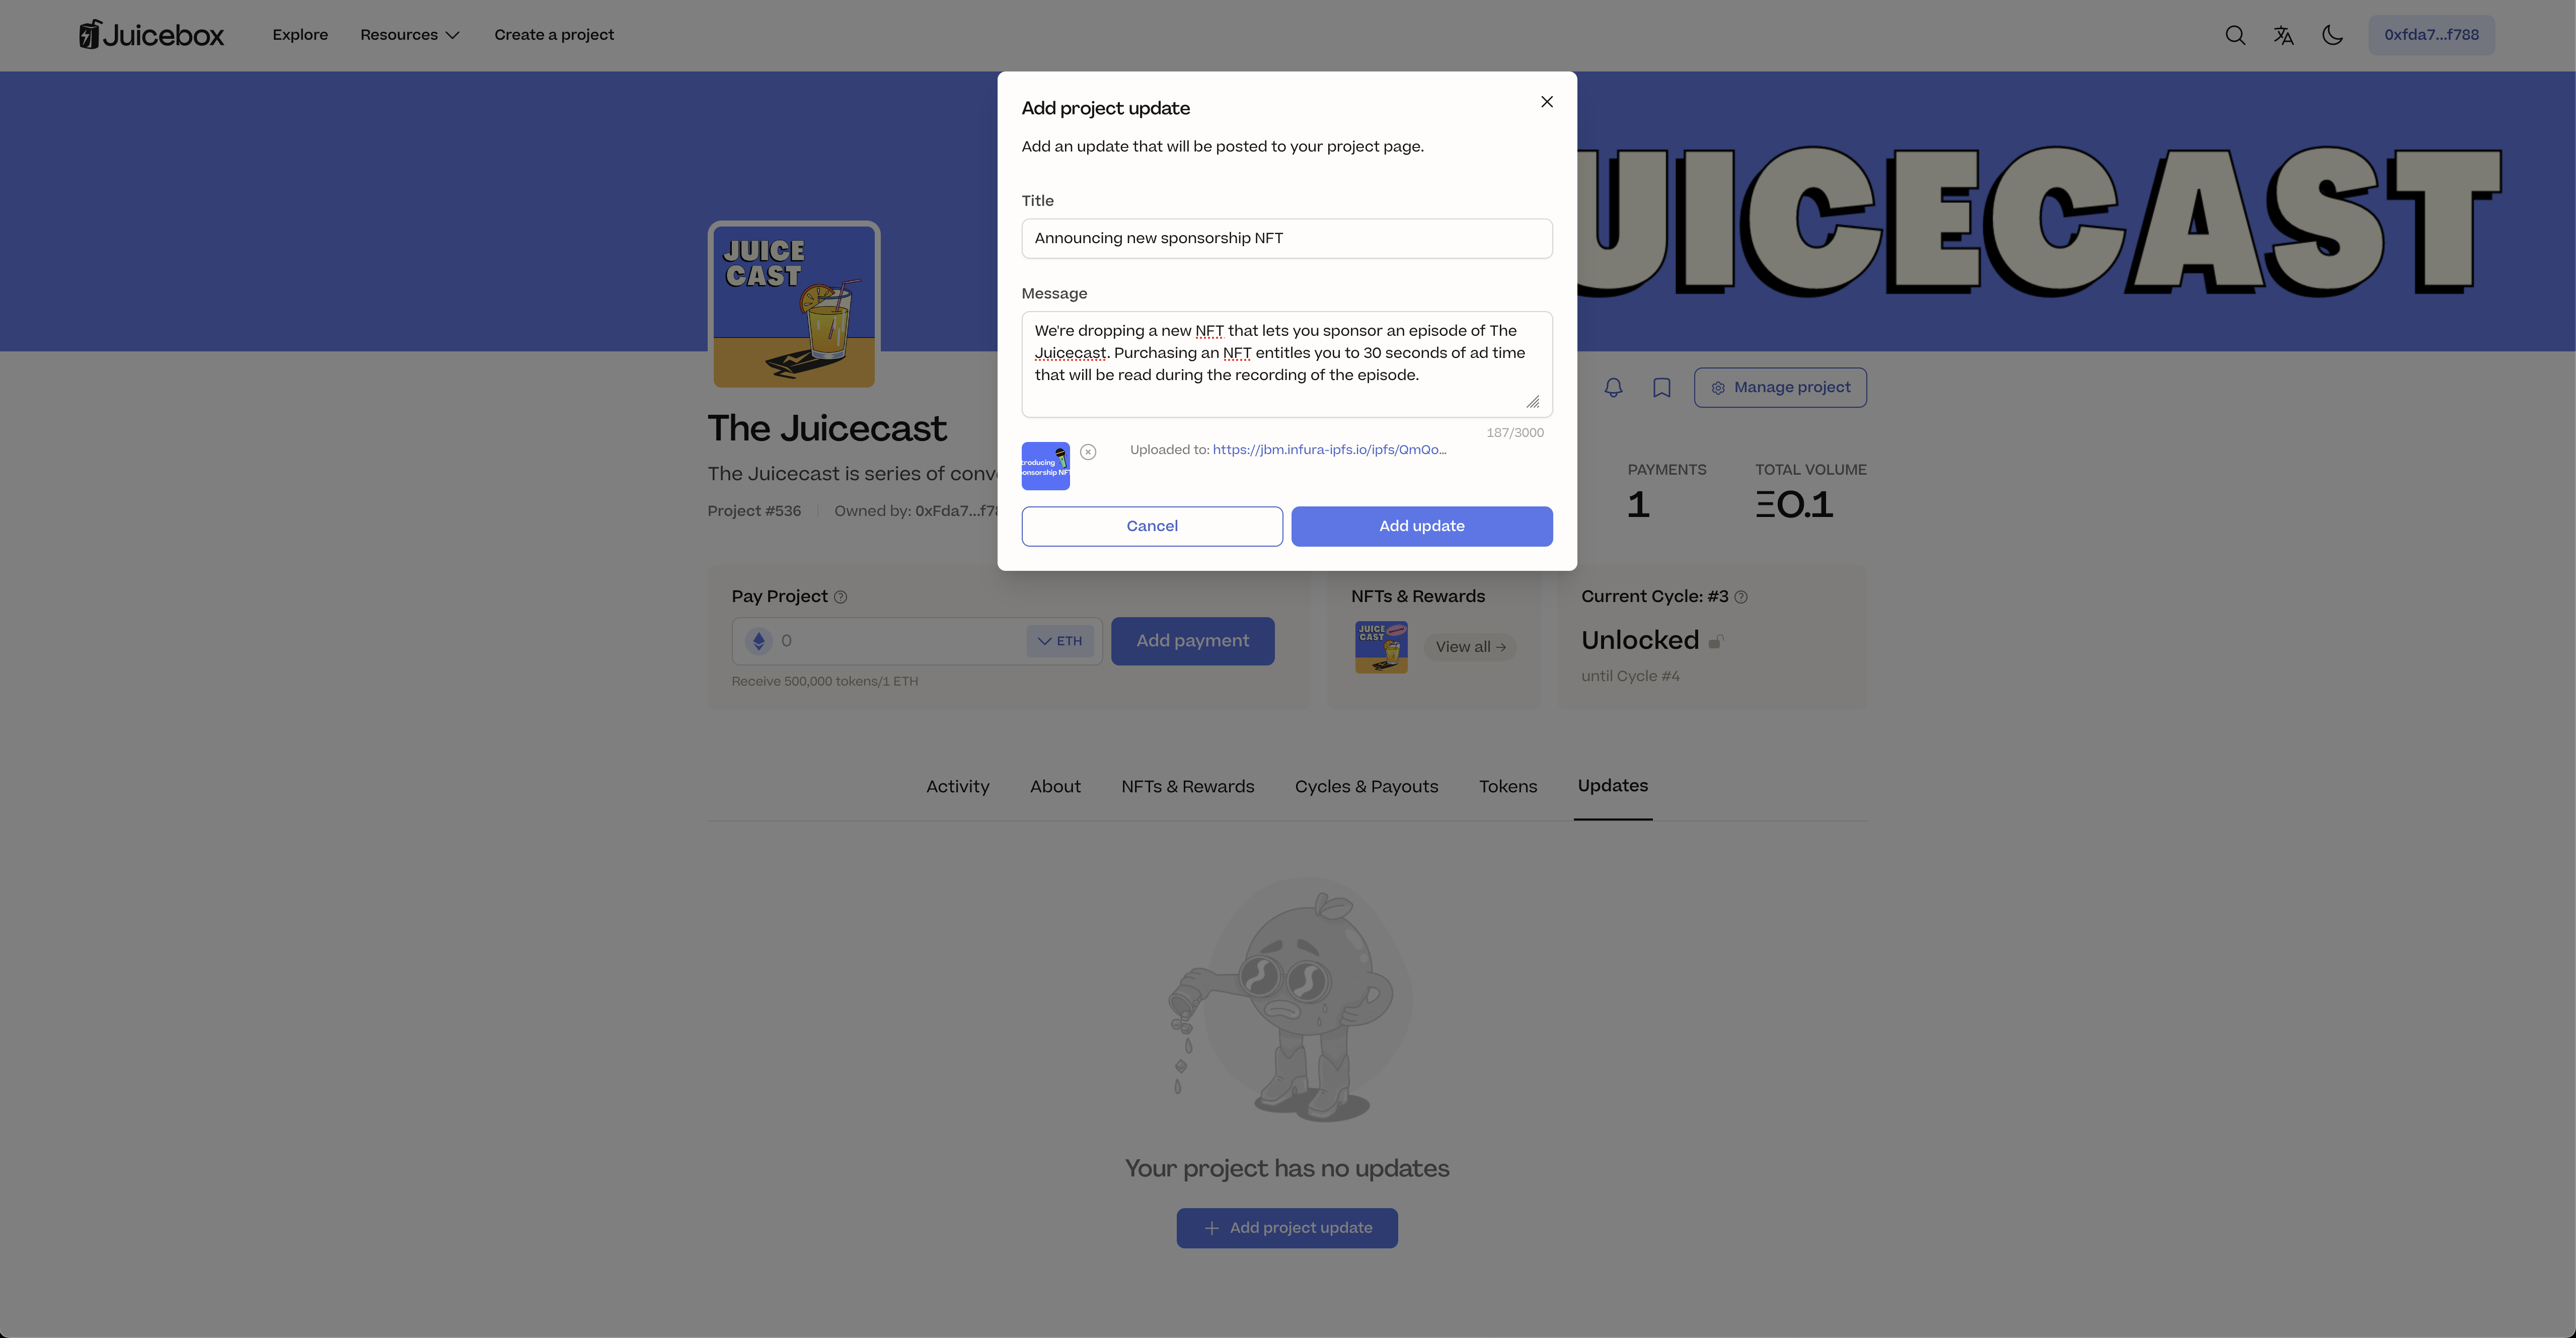
In this section you’ll see a button that says Add project update, click it and it will prompt a signature request. This is so that the update can be verified by your wallet. No charges or gas fees will be made against your wallet.

Add project update button

tip

You can’t edit an update once it has been posted but you can delete it and post a new one if you make a mistake.

In the pop-up window you can add a title and message for your update. Make sure that your message provides enough context and clearly conveys what you want to communicate to your community. You also have the option to add an image that’s relevant to your update. Keep in mind that this will be cropped to a horizontal rectangle ratio of 288px x 566px.

Example of what to put in a project update

Step 3: Post Update

When you’re done, click Add update to post your update.

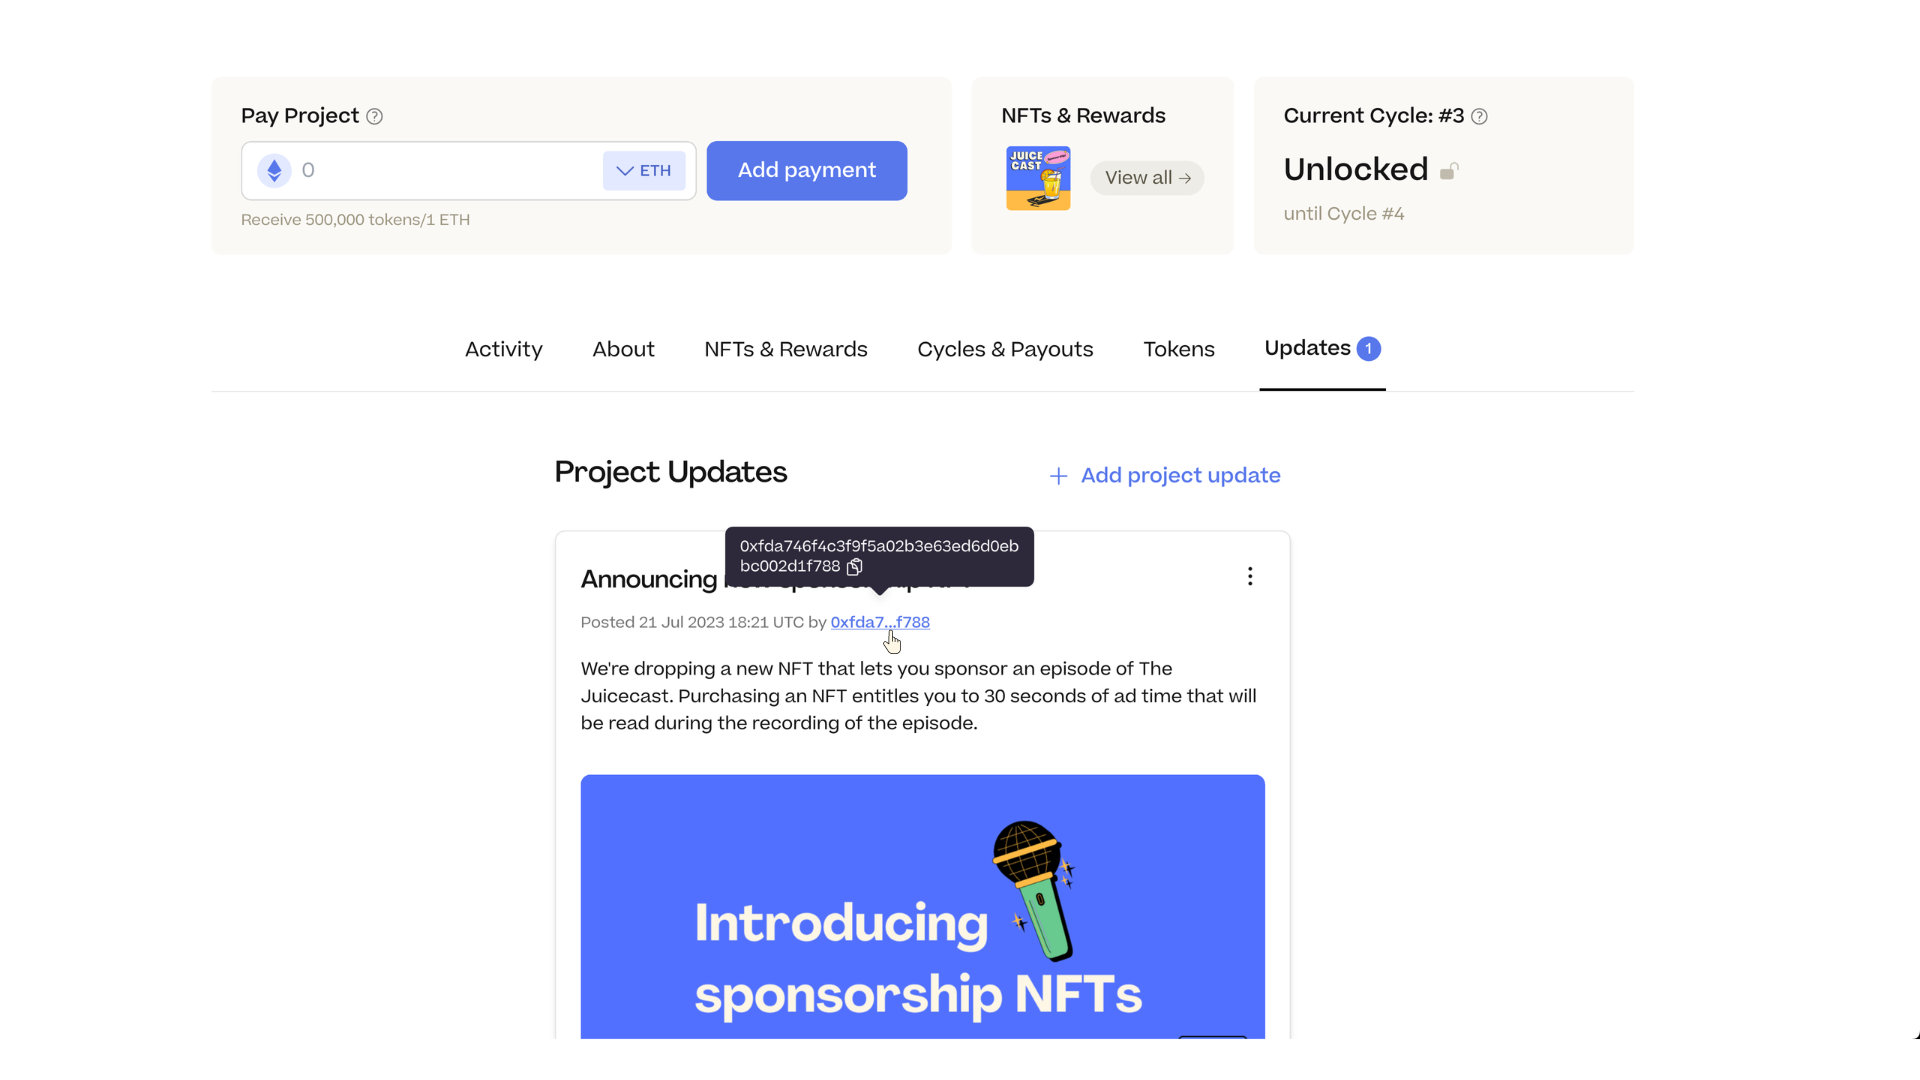
And that’s it, all done! The page should refresh automatically or you can refresh it yourself, and you’ll notice a number next to the Updates tab that keeps track of how many updates have been posted. The update will also include the date it was posted as well as the wallet that signed the message.

Message signed by wallet

Reasons to use Project Updates and tips

Keeping your community in the loop is one of the best ways to ensure your projects' success. The more your community hears from you about what you’re working on, the stronger the trust will build and increase the likeliness of getting more funding from both new and old supporters.

Here are a couple tips for posting updates for your project:

  • Don't make vague statements that could mislead your community. Posting updates is all about building trust with your supporters: don’t overpromise and make sure that your message is crystal clear.
  • The more active your project, the better. Being consistent means finding a balance so that your community isn’t spammed with updates or on the other hand left wondering if the project is still active months later.

Keep your eyes peel-ed for more features like markdown formatting and images in project descriptions as well as the ability to subscribe to project updates via email.

🐦 Follow Juicebox on Twitter: @juicebox_money

📬 Subscribe to Juice News, our weekly newsletter

💬 Join the Juicebox Discord

🚀 Trending projects on Juicebox

📚 Project Creator Docs

📹 YouTube Tutorials

🎙️ Listen to an episode of The Juicecast
· 3 min read
Brileigh
Matthew

project page updates

Project pages on Juicebox have been revamped including a new layout, new checkout experience, and bookmark feature. These updates were made possible thanks to PeelDAO, the front-end team managing juicebox.money, user interviews, and feedback from JuiceboxDAO. You can follow along in this article, or this walkthrough video by Brileigh on the JBDAO YouTube:

For this example, we’re going to look at WAGMI Studios: the creative studio behind all of the juicy art on juicebox.money.

Banny hero image by Sage Kellyn

Artwork by Sage Kellyn from WAGMI Studios

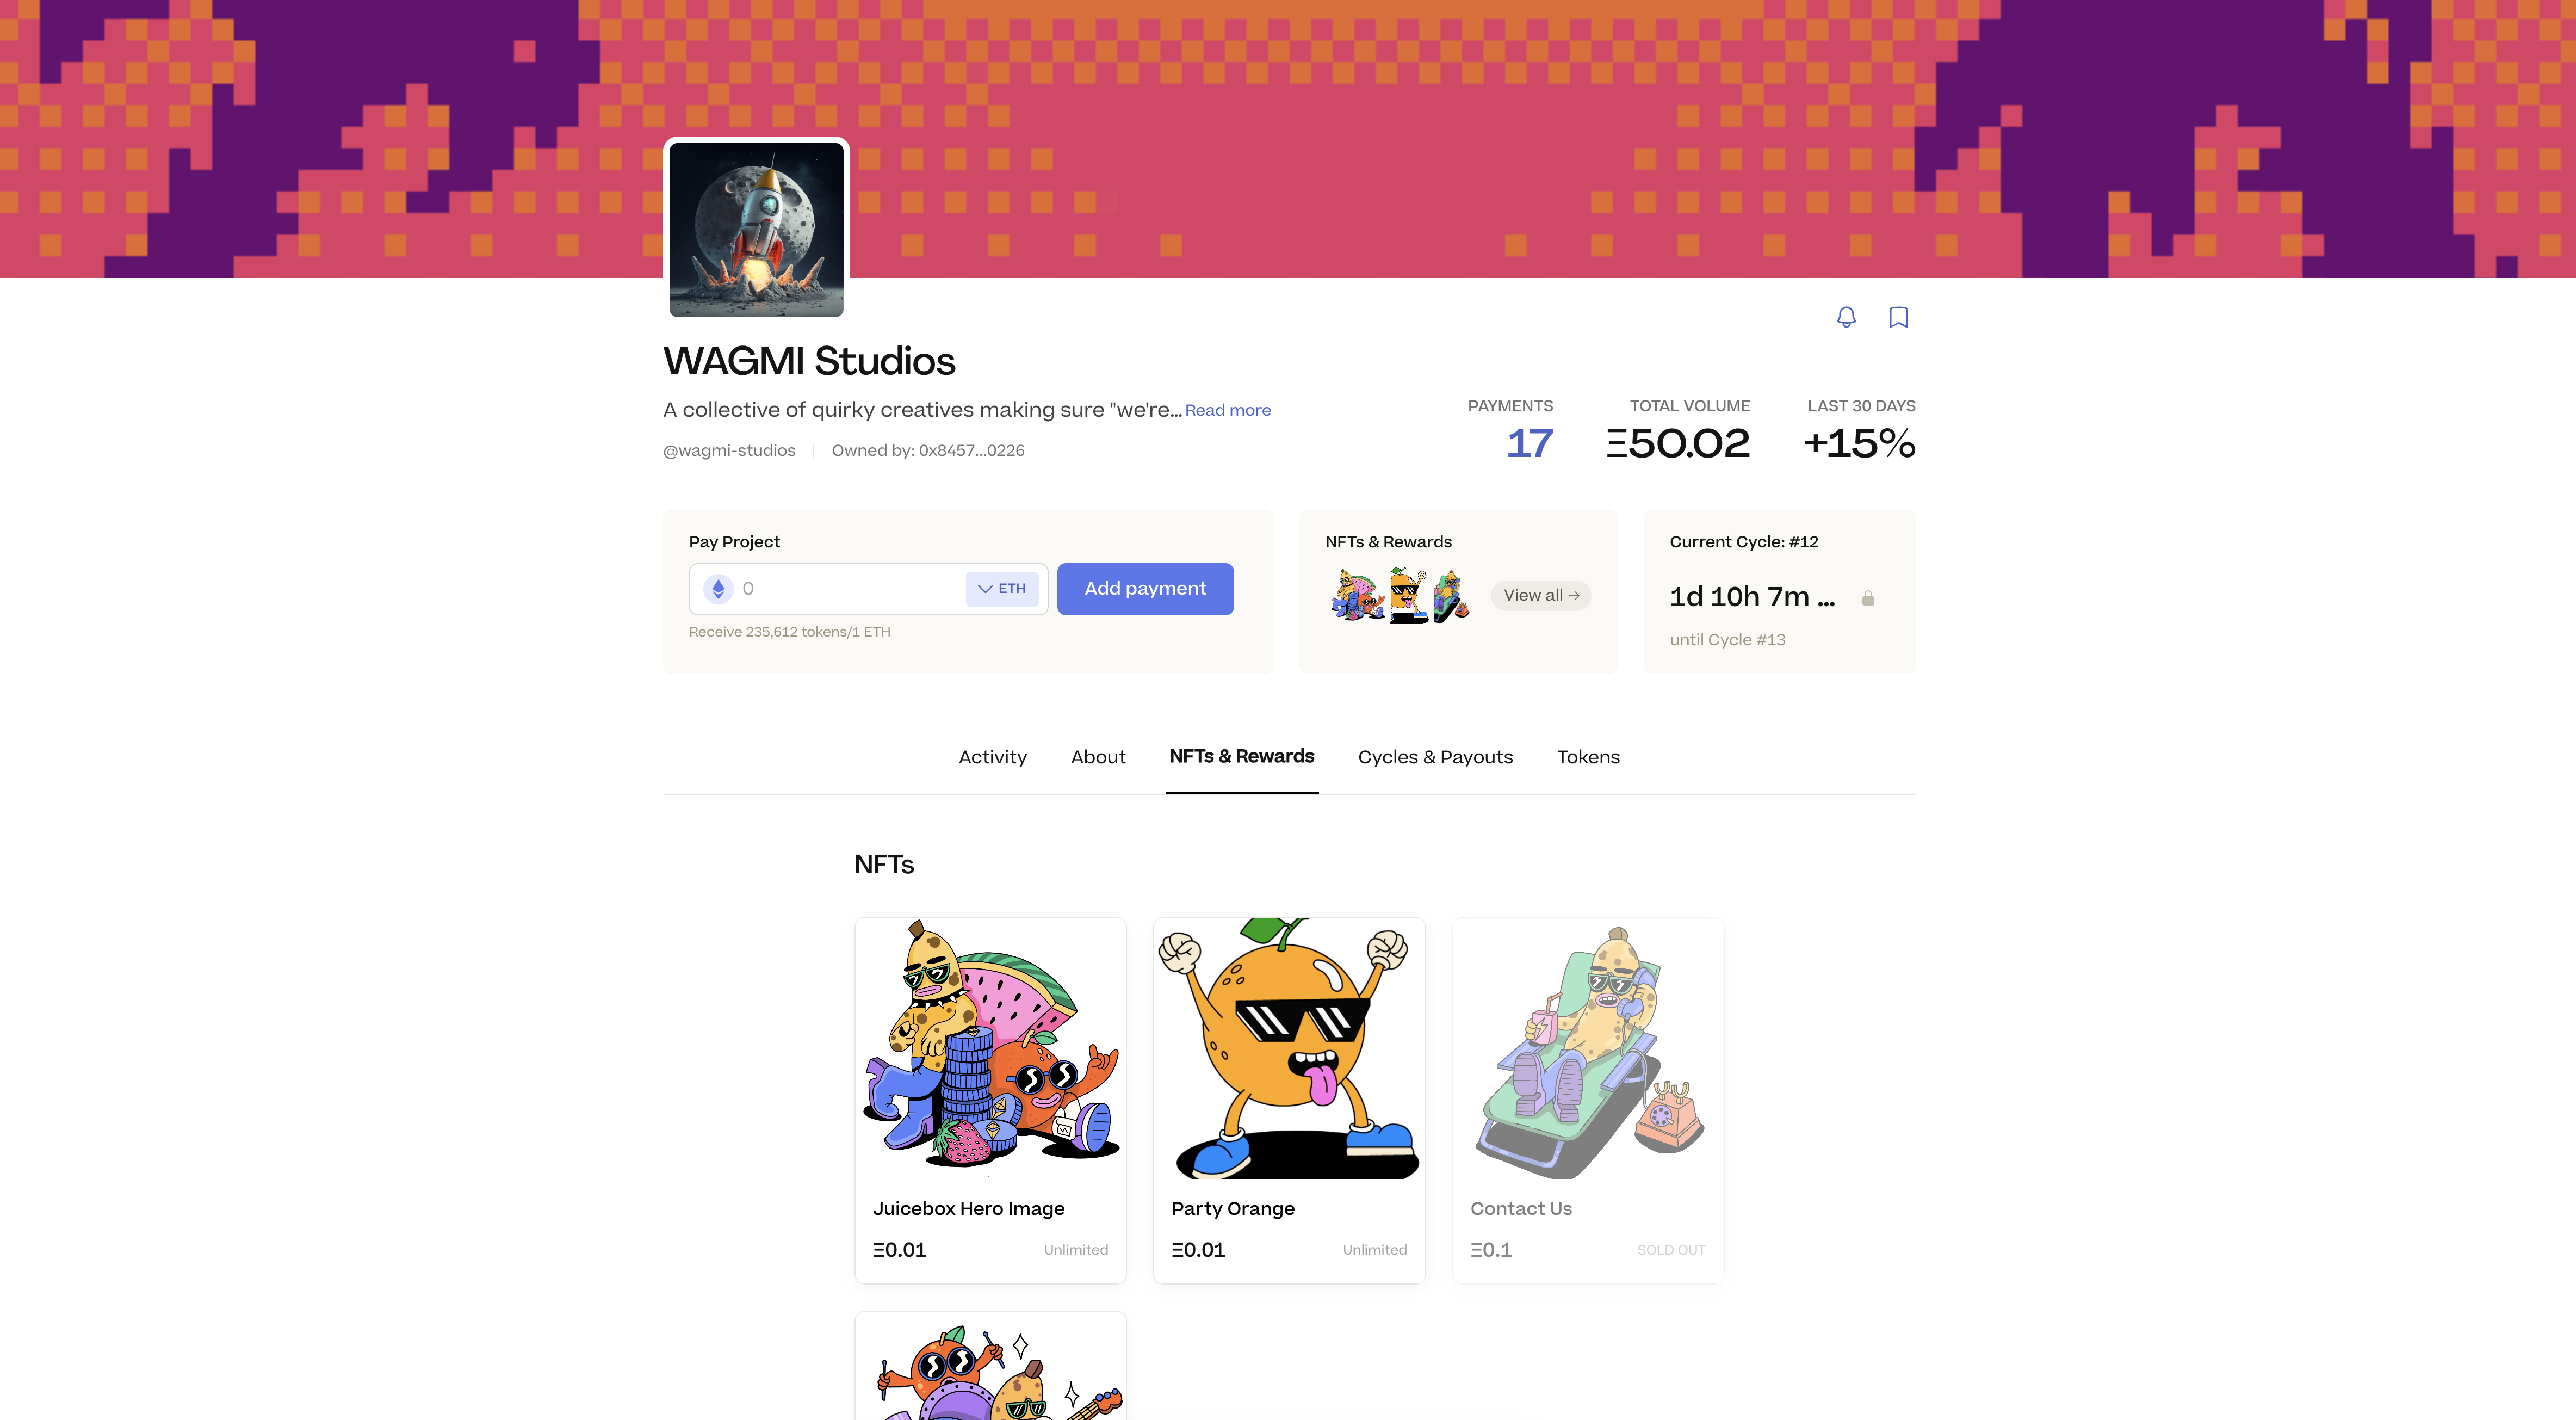
We’ve simplified the layout and added a new section with key project stats that give you a sense of a project’s activity. You can see how many payments have been made, total volume in ETH, and a trending percentage for the last 30 days.

Project page - WAGMI Studios

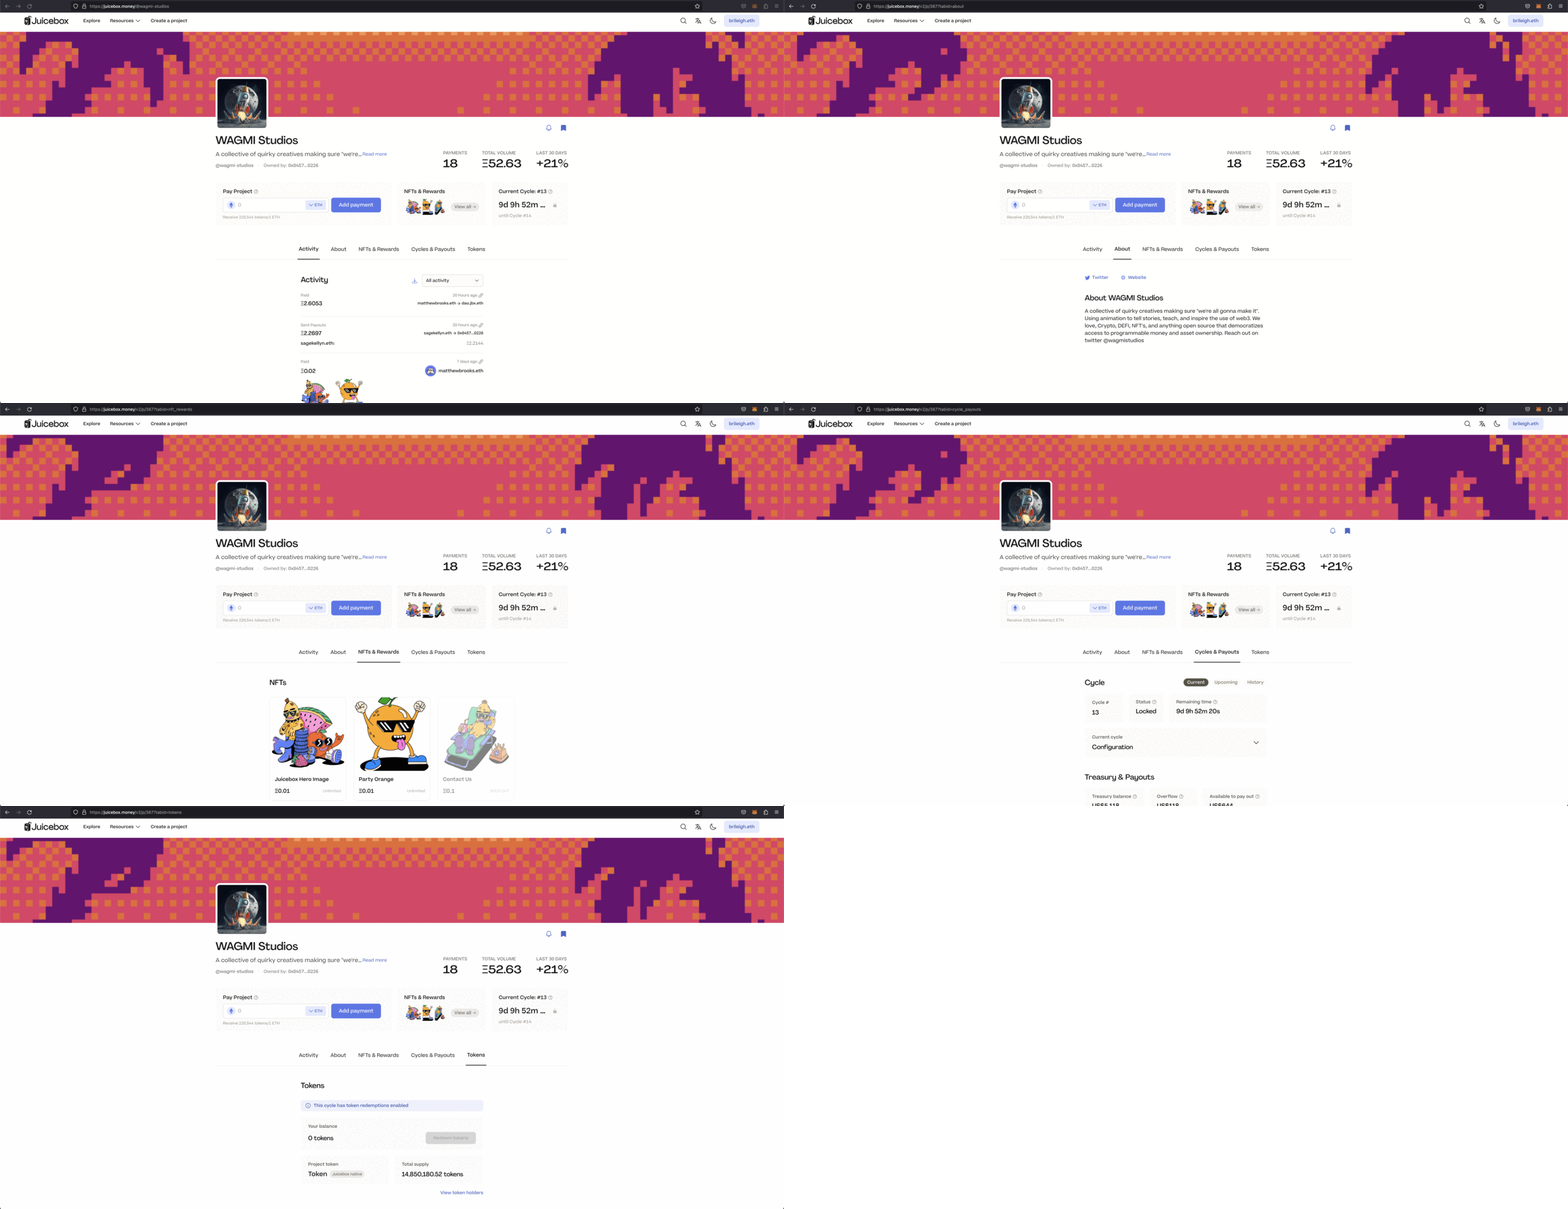
We’ve added tabs to help navigate different aspects of a Juicebox project like Activity, About, NFTs, Cycles & Payouts, and Tokens. You can also click on the Cycle block to get to the Cycles tab, or click on NFTs to get to the NFTs tab.

GIF going through project tabs

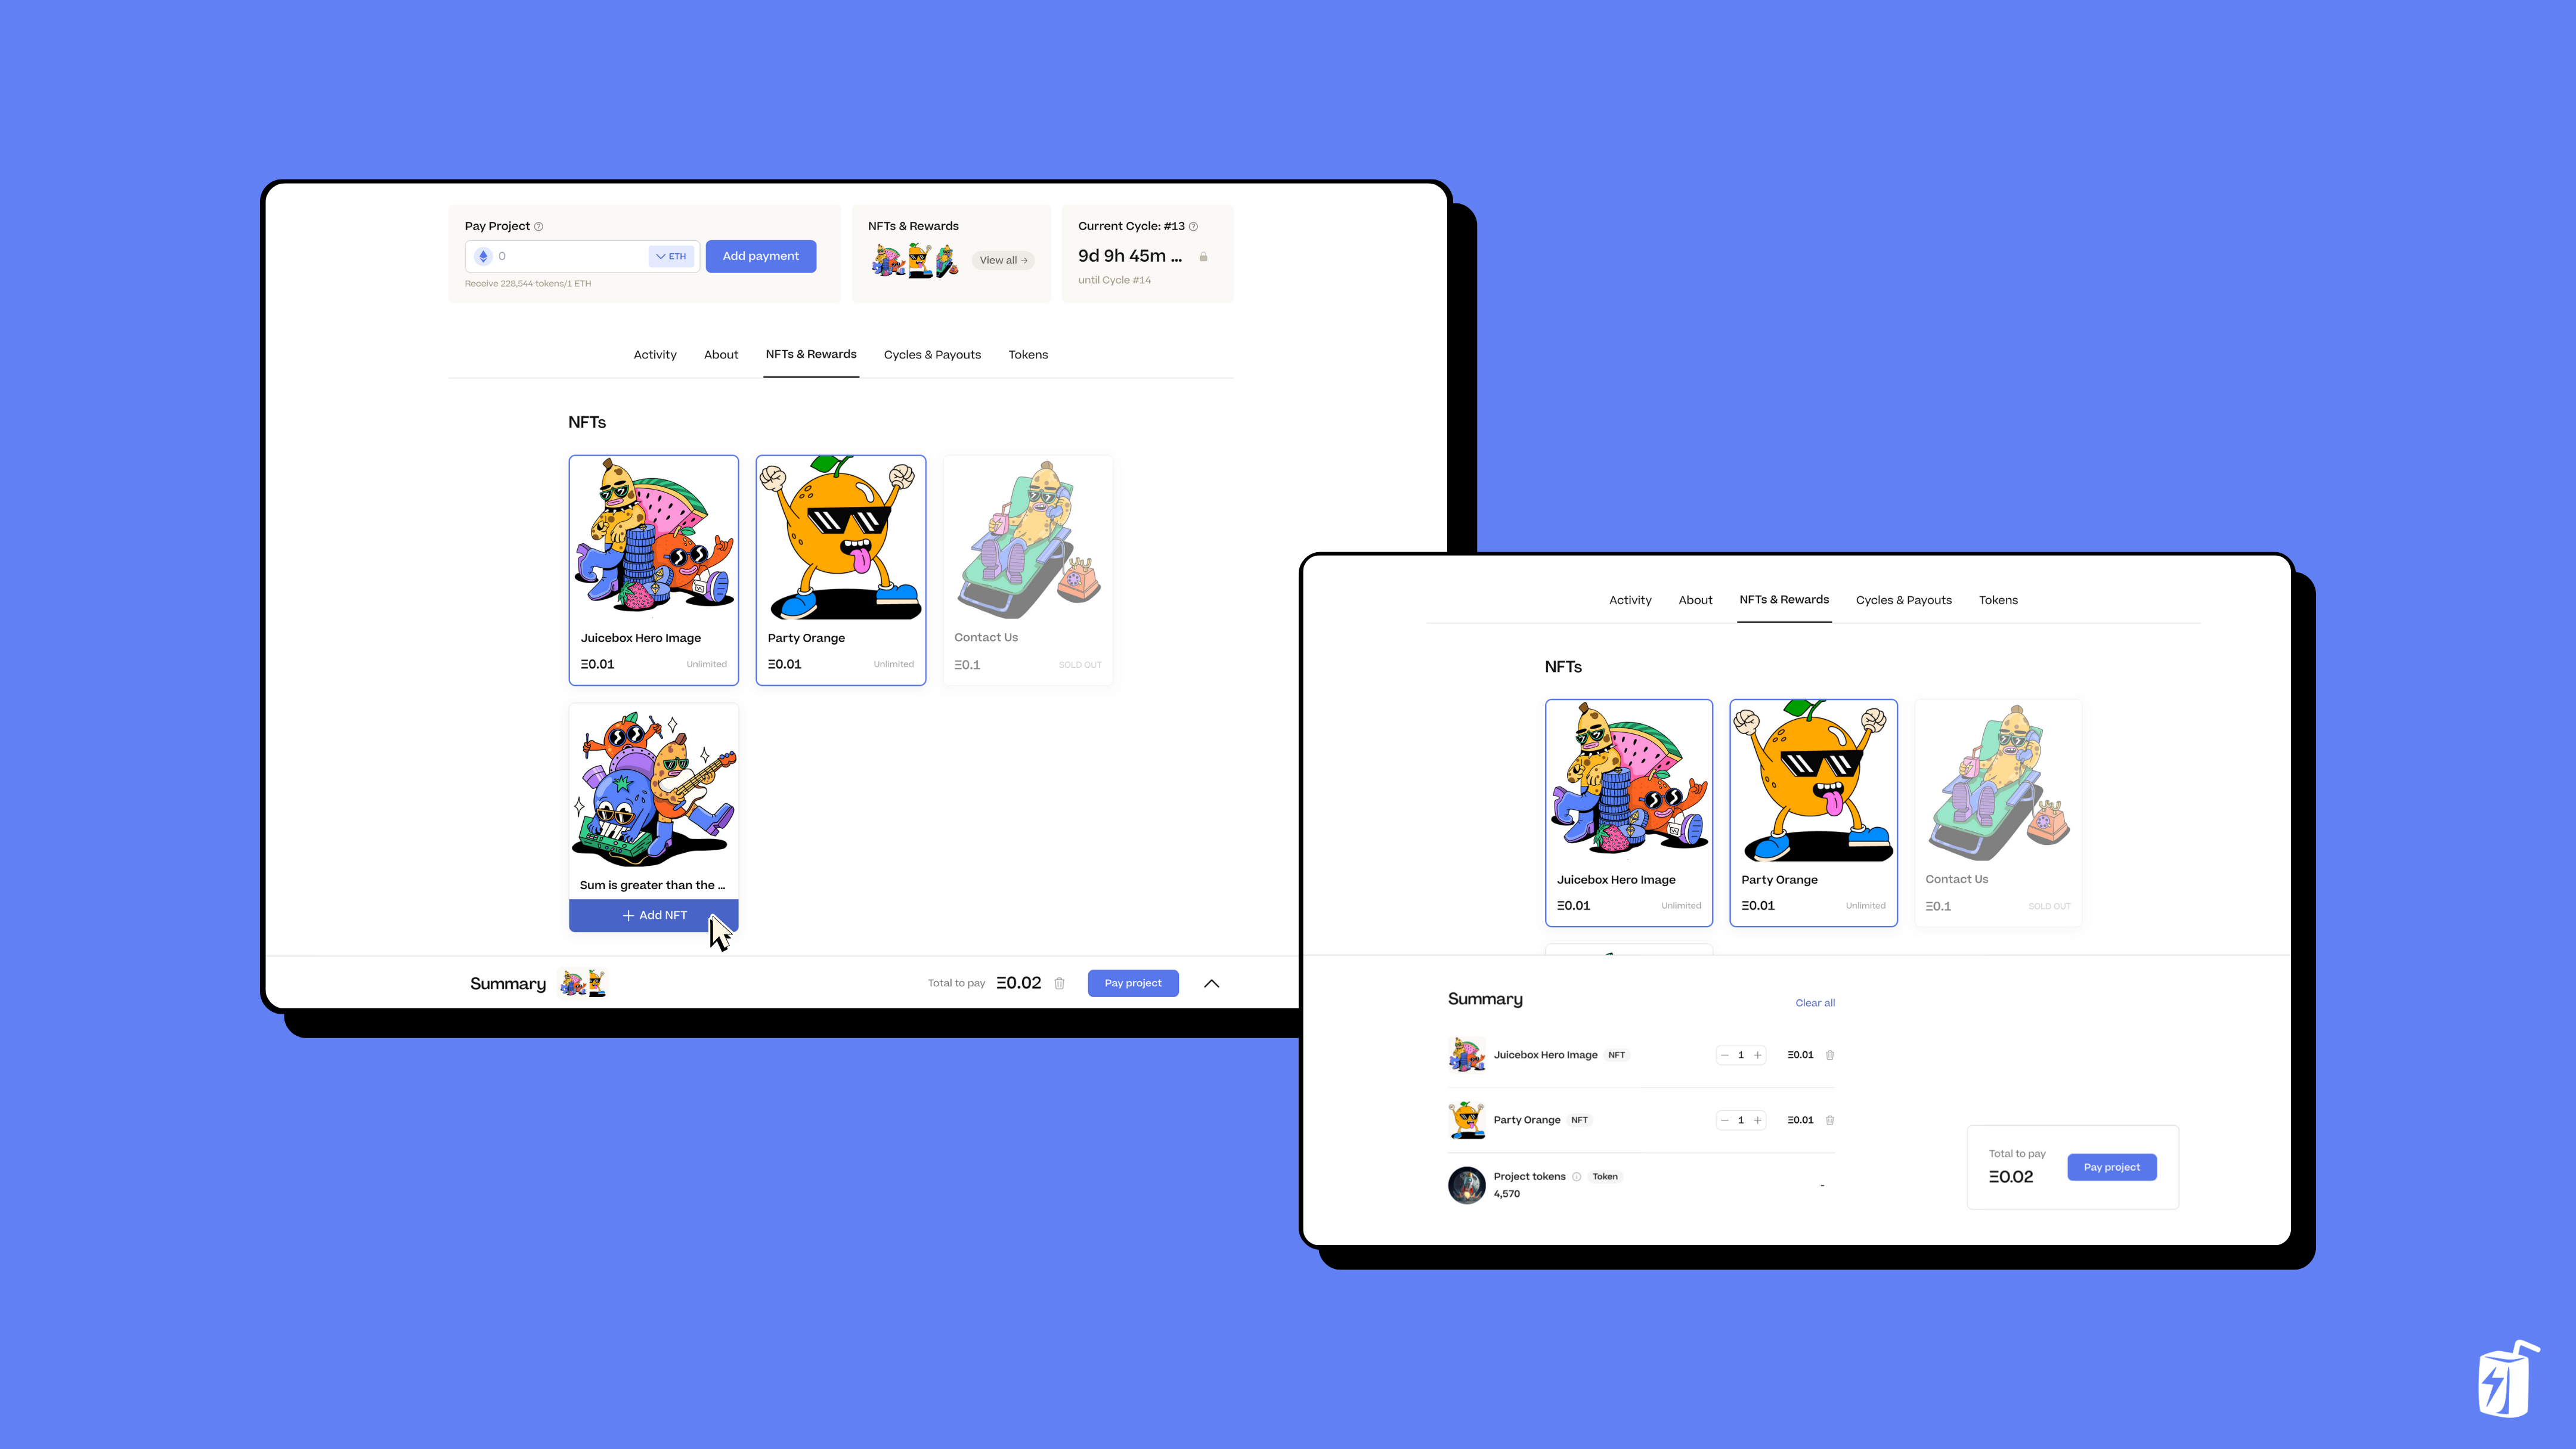
One of the biggest changes that you’ll notice is the new cart experience when paying a project: you can add things to your cart and review a summary before submitting your transaction. As you add or remove NFTs, the summary will keep track of what is in your cart. If you click anywhere on the summary bar you can get a more detailed view with both the NFTs added to your cart and the project tokens you’ll receive.

Cart summary with NFTs and tokens

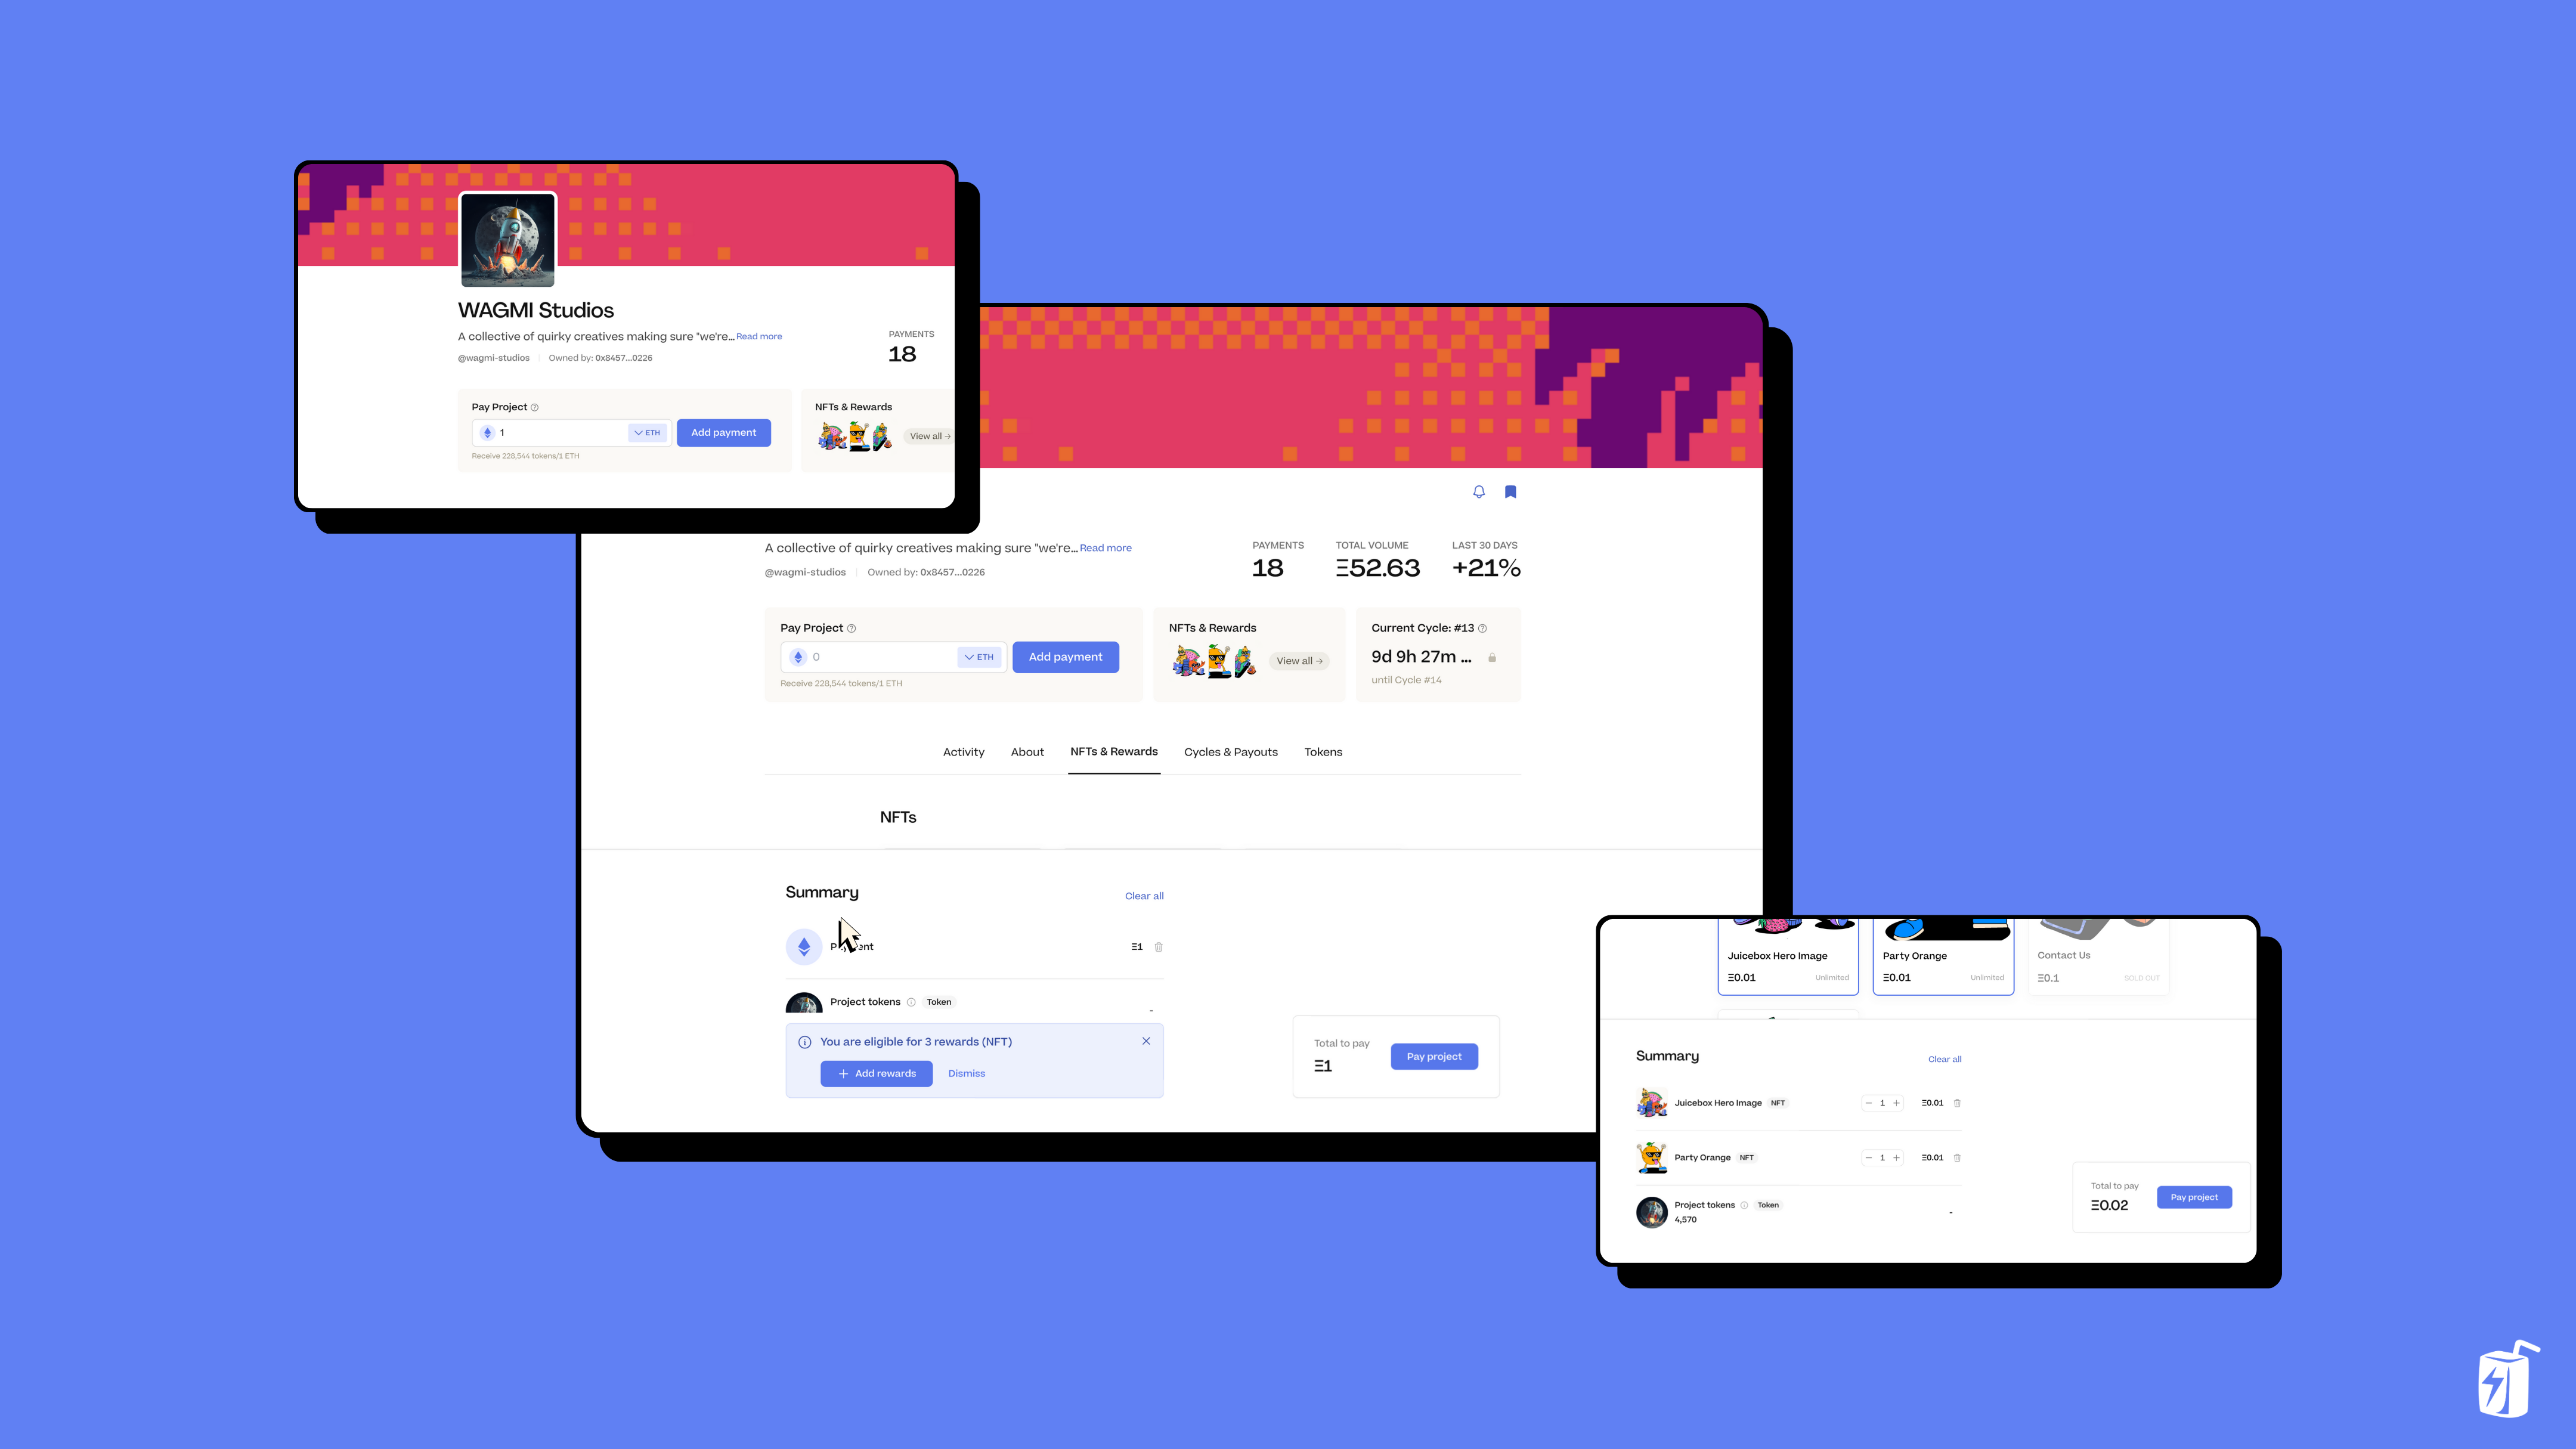
You can also pay a project without choosing any NFTs using the pay bar at the top. For example, if you pay 1 ETH to Wagmi Studios and click on Summary at the bottom of the page, you’ll get a message saying “You are eligible for 3 rewards,” which are the NFTs. You can click “add rewards” to include them, or if you change your mind, simply click on the trash icon to remove them. This gives you the option to opt-in or opt-out of receiving NFTs when contributing to a project.

Cart summary using pay bar

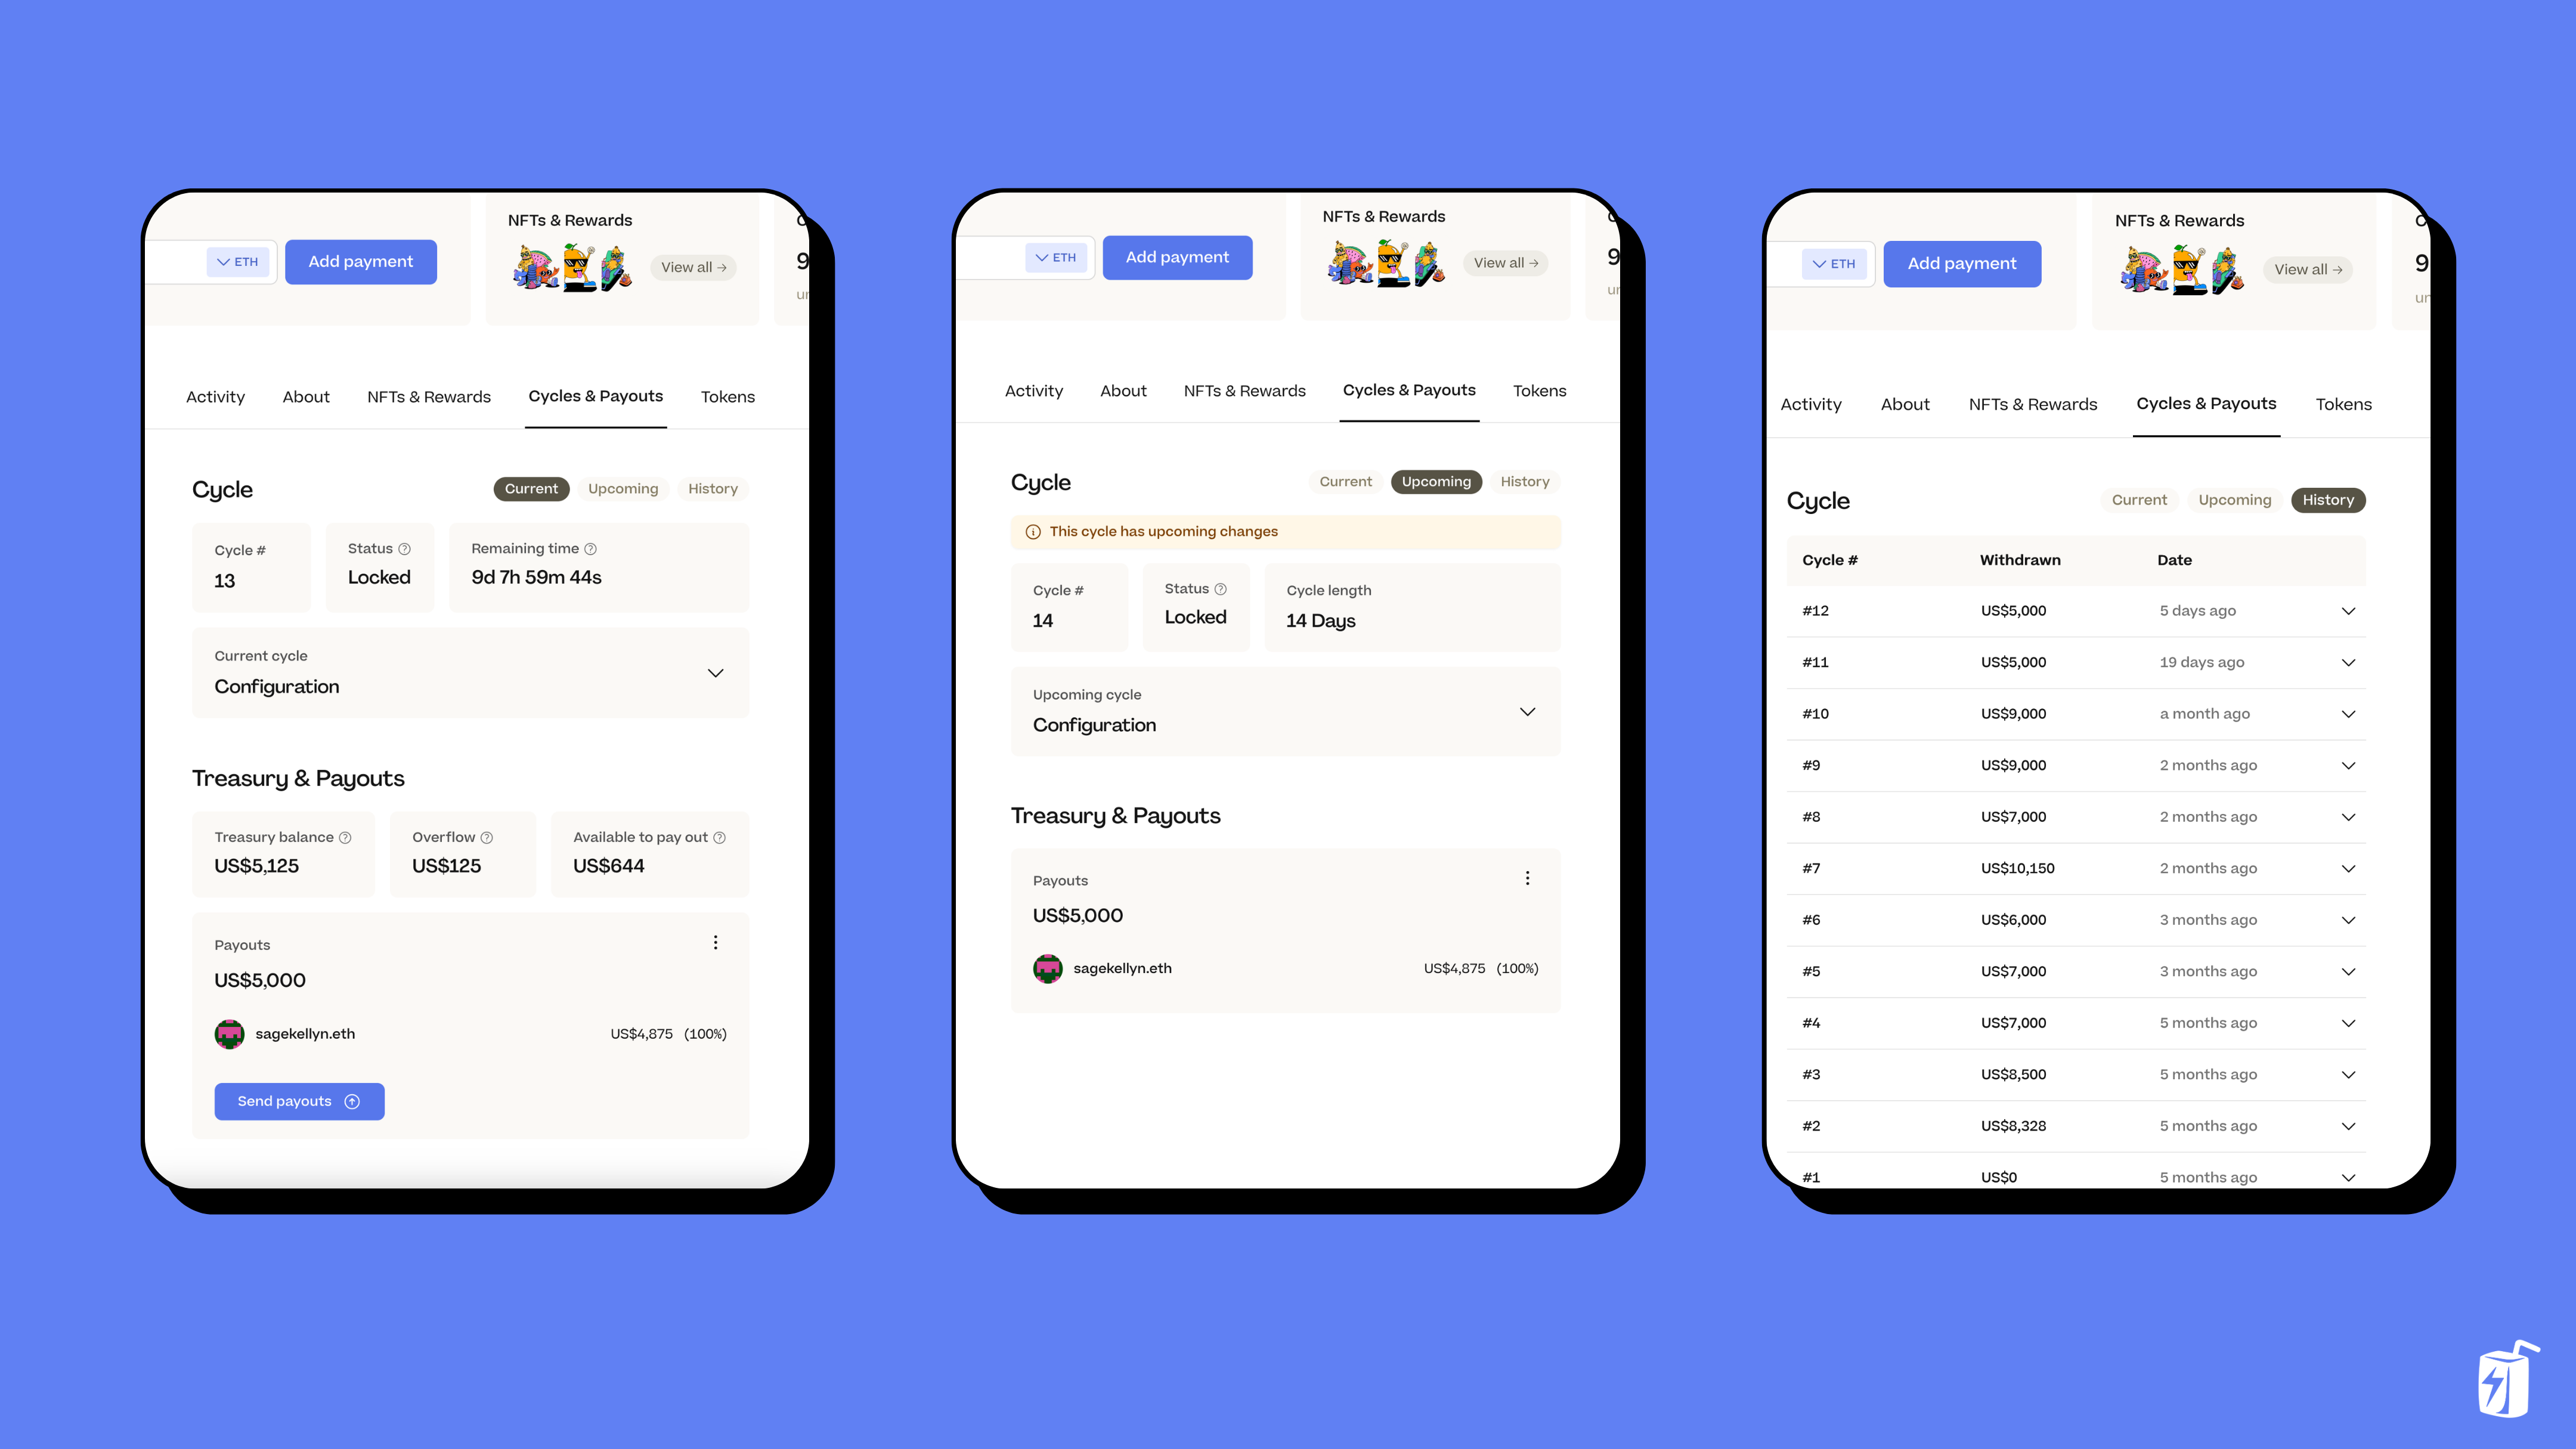
You’ll also notice a new block in the top-right with a live countdown of the project’s current Cycle. Click and it’ll bring you to the Cycles & Payouts tab where you can see current, upcoming, and past Cycles as well as any Payouts that have been configured.

Cycles tab

If you’re browsing a project and want to come back to it later, you can bookmark it to save it to your Saved Projects in My Account. To do this you’ll need to have your wallet connected, click the Bookmark button on a project page, and sign with your browser wallet. You can then hover over your wallet in the top-right, click My Account, and then go to the Saved Projects tab.

Bookmark feature

That’s all for the project page for now. Keep an eye out for more new features like Project Taglines, editing descriptions with markdown and the ability to post updates about your project. Drop into the Discord to let us know what you think about the new Project Page. Please report any issues in ⁠the Bugs channel or request a feature here.

🐦 Follow Juicebox on Twitter: @juicebox_money

💬 Join the Juicebox Discord

🚀 Trending projects on Juicebox

📚 Project Creator Docs

📹 YouTube Tutorials

· One min read
Jango

Communities using Juicebox can leverage their reserved rate decisively when they want to make it more difficult for new members to join. Funds can still be received, but more of the newly minted tokens will be owned by the project itself. The current project members can use this to decide how they will manage their subsequent growth on a per-funding cycle basis.

When the project wishes to make membership more accessible again, members can do so by lowering the reserved rate.

There's currently a discussion happening in JuiceboxDAO deliberating if it might be wise to move its reserved rate from 35% to 50%.

The reserved rate can also be useful for other purposes, this is just one possible metaphor that can be used to guide decision making.

· 4 min read
Jango

In its first funding cycle, each project issues 1,000,000 tokens for each 1 ETH received.

Level 0

In its simplest form, a Juicebox project can be configured to fundraise and provide refunds.

Example: I pay 5 ETH into a treasury and receive 5,000,000 tokens, and you pay 5 ETH and receive 5,000,000 tokens. There are now 10 ETH in the treasury and 10,000,000 tokens total. Since I own half of the tokens, I can redeem them to get half of the treasury's total – in other words I can get a refund. You can do the same.

Level 1

A reserved rate can be added which will allocate a percentage of the minted token supply to a preprogrammed list of addresses.

Example: The project sets a 10% reserved rate that goes to the DAO's multisig address. I pay 5 ETH into a treasury and receive 4,500,000 tokens, and you pay 5 ETH and receive 4,500,000 tokens. The DAO's multisig now has access to 1,000,000 tokens. Because of the reserved rate, I can no longer redeem my tokens to get a refund – I will only get 90% of what I paid.

At a reserved rate of 100%, no tokens go to new contributors.

Level 2

A funding cycle target can be set which blocks off some funds from the treasury that can be distributed by anyone to a set of preprogrammed addresses.

Example: The project sets a target of 1 ETH. I pay 5 ETH into a treasury and receive 5,000,000 tokens, and you pay 5 ETH and receive 5,000,000 tokens. The treasury now has 10 ETH –  1 ETH is within the target, and the other 9 are considered overflow. I can redeem/burn by tokens to receive my proportion of the overflow, which is 4.5 ETH. The 1 ETH target is still distributable to the project and not accessible to token holders.

Level 3

A redemption bonding curve can be added which reduces the amount of the treasury that can be reclaimed by redeeming tokens.

Example: The project sets a 50% bonding curve. I pay 5 ETH to the treasury and receive 5,000,000 tokens, and you pay 5 ETH and receive 5,000,000 tokens. Because of the redemption bonding curve, I will only receive ~2.5 ETH if I redeem my tokens. The rest is left to share by those who are holding, so you could now redeem your tokens and get the remaining ~7.5 ETH.

Level 4

A discount rate can be added to decrease the rate of tokens that are minted and distributed when contributions are received over time.

Example: The project sets a 10% discount rate and a 14 day funding cycle duration.  I pay 5 ETH to the treasury and receive 5,000,000 tokens on day one during the first funding cycle. Fourteen days later during the second funding cycle, you pay 5 ETH and receive 4,500,000 tokens.

Level 5

It is important to note that a project can change its reserved rate, target, redemption bonding curve, and discount rate on a per-funding cycle basis. Some projects might choose to have no funding cycle duration for the most flexibility, meaning they can reconfigure the project on demand. It is really important to trust the owner of the project because they have a lot of control to shape the tokenomics.

A project can also set a ballot contract in its funding cycle to create conditions according to which all proposed reconfigurations must abide.

Example: The project sets a 3-day delay ballot contract. If the project owner wants to reconfigure any funding cycle property, the transaction to do so must be sent at least 3 days before the end of the current funding cycle. If the reconfiguration was made within the 3 days, the next funding cycle will instead be a copy of the current one, and the reconfiguration would be eligible to take effect after that one.

People can build arbitrary ballot contracts as long as it conforms to IFundingCycleBallot.